Welcome to the Quilted Cotton Blog Hop Tour!!!
For this fun project we used Riley Blake Designs Quilted Cotton!
You can check out all the fun prints that are available here…


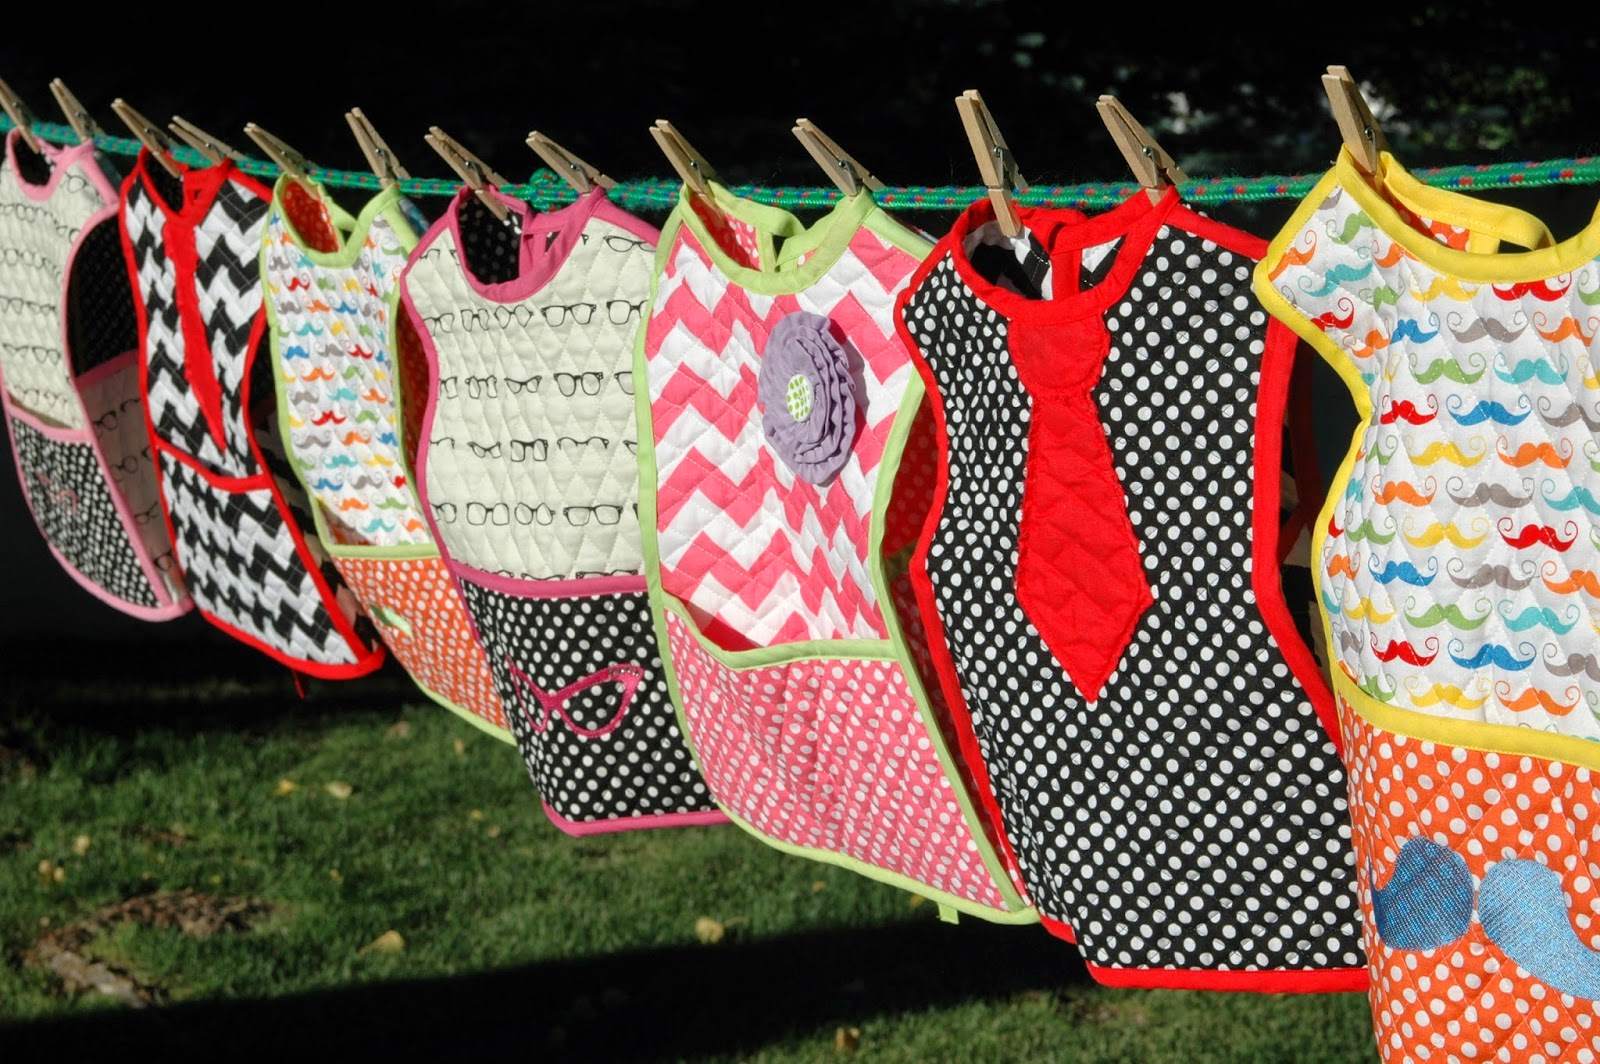
I invited my friend, Aniva Willoughby, to show us how she makes these super cute children’s smocks. They can be made for a boy or girl depending on what colors you decide to use and how you want to embellish them. The smock will fit a toddler size 1-2.
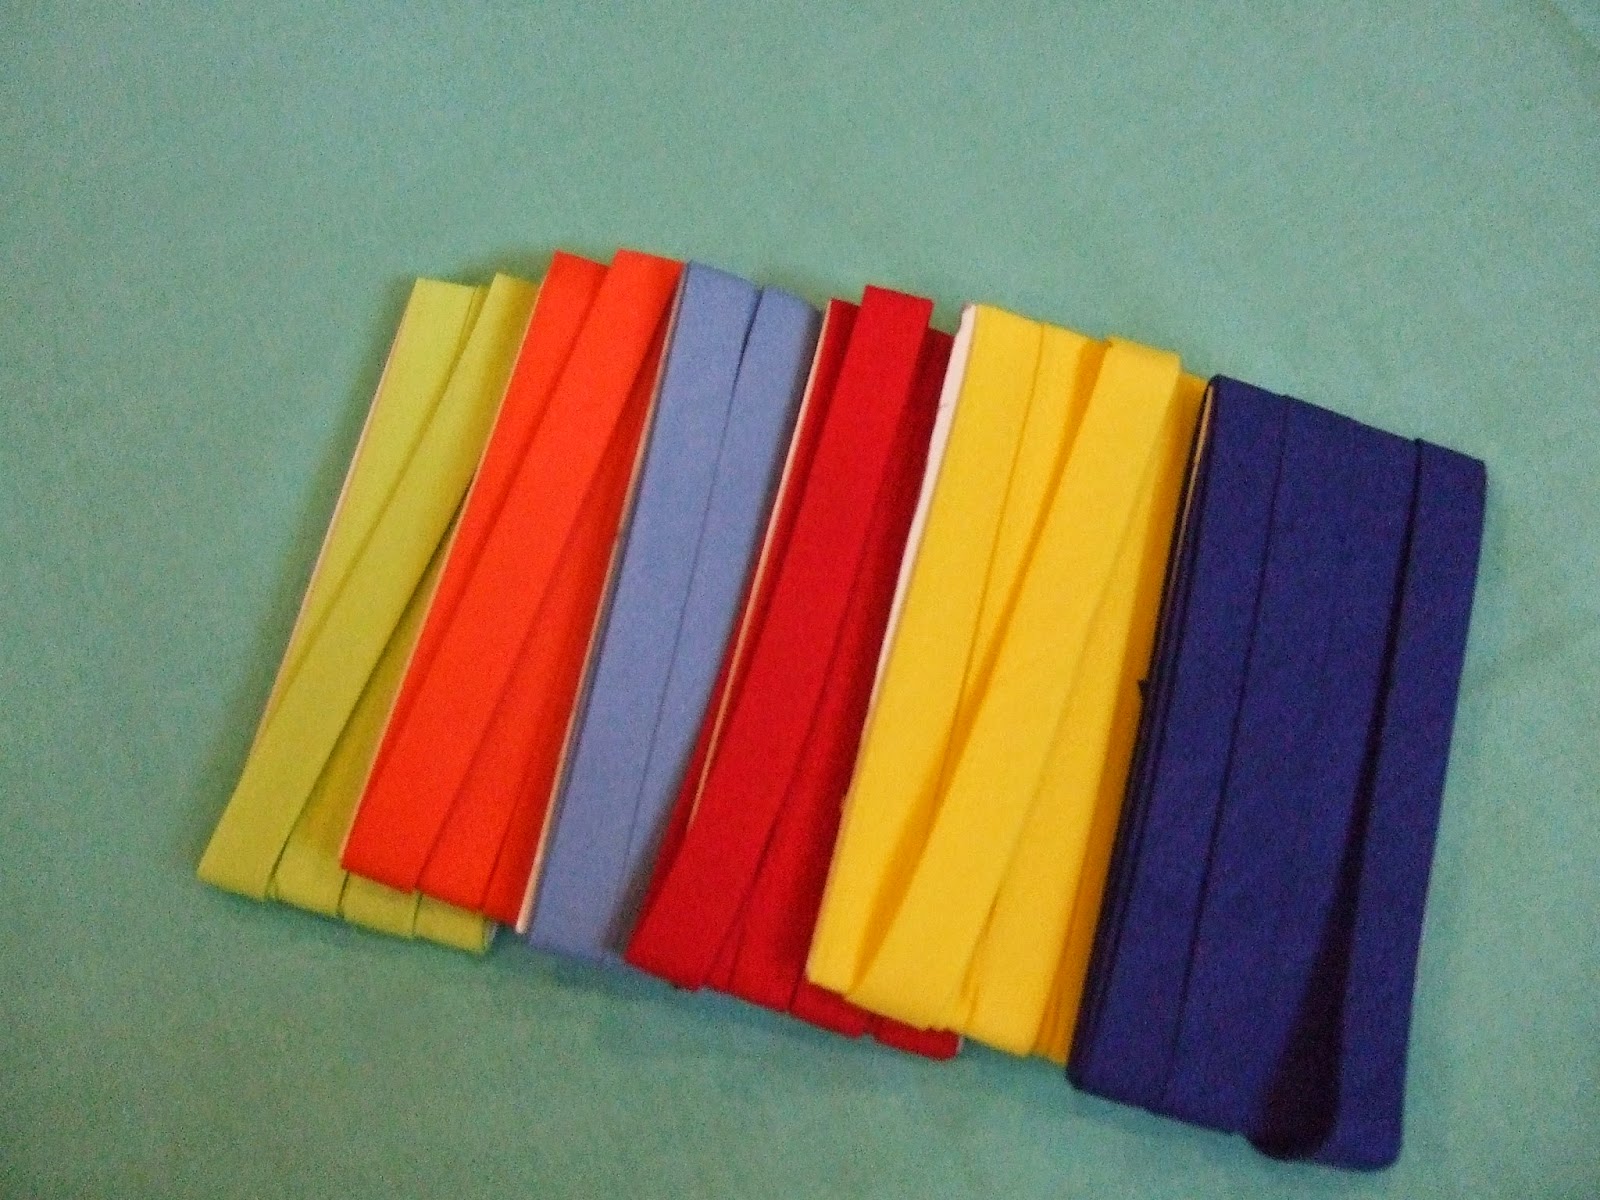
Bias tape is one of the supplies needed.
You can purchase bias tape in a package that contains 3 yards…
you will need 2 packages of EXTRA WIDE DOUBLE FOLD BIAS TAPE
OR
you can make your own bias binding, in which case, you will need 5 1/2 yards.
Pick a contrasting color in comparison to your fabric…it sure makes the project look cute!!!

Next, download the templates for the pattern pieces here.
They can be printed on 8 1/2″ x 11″ standard paper.
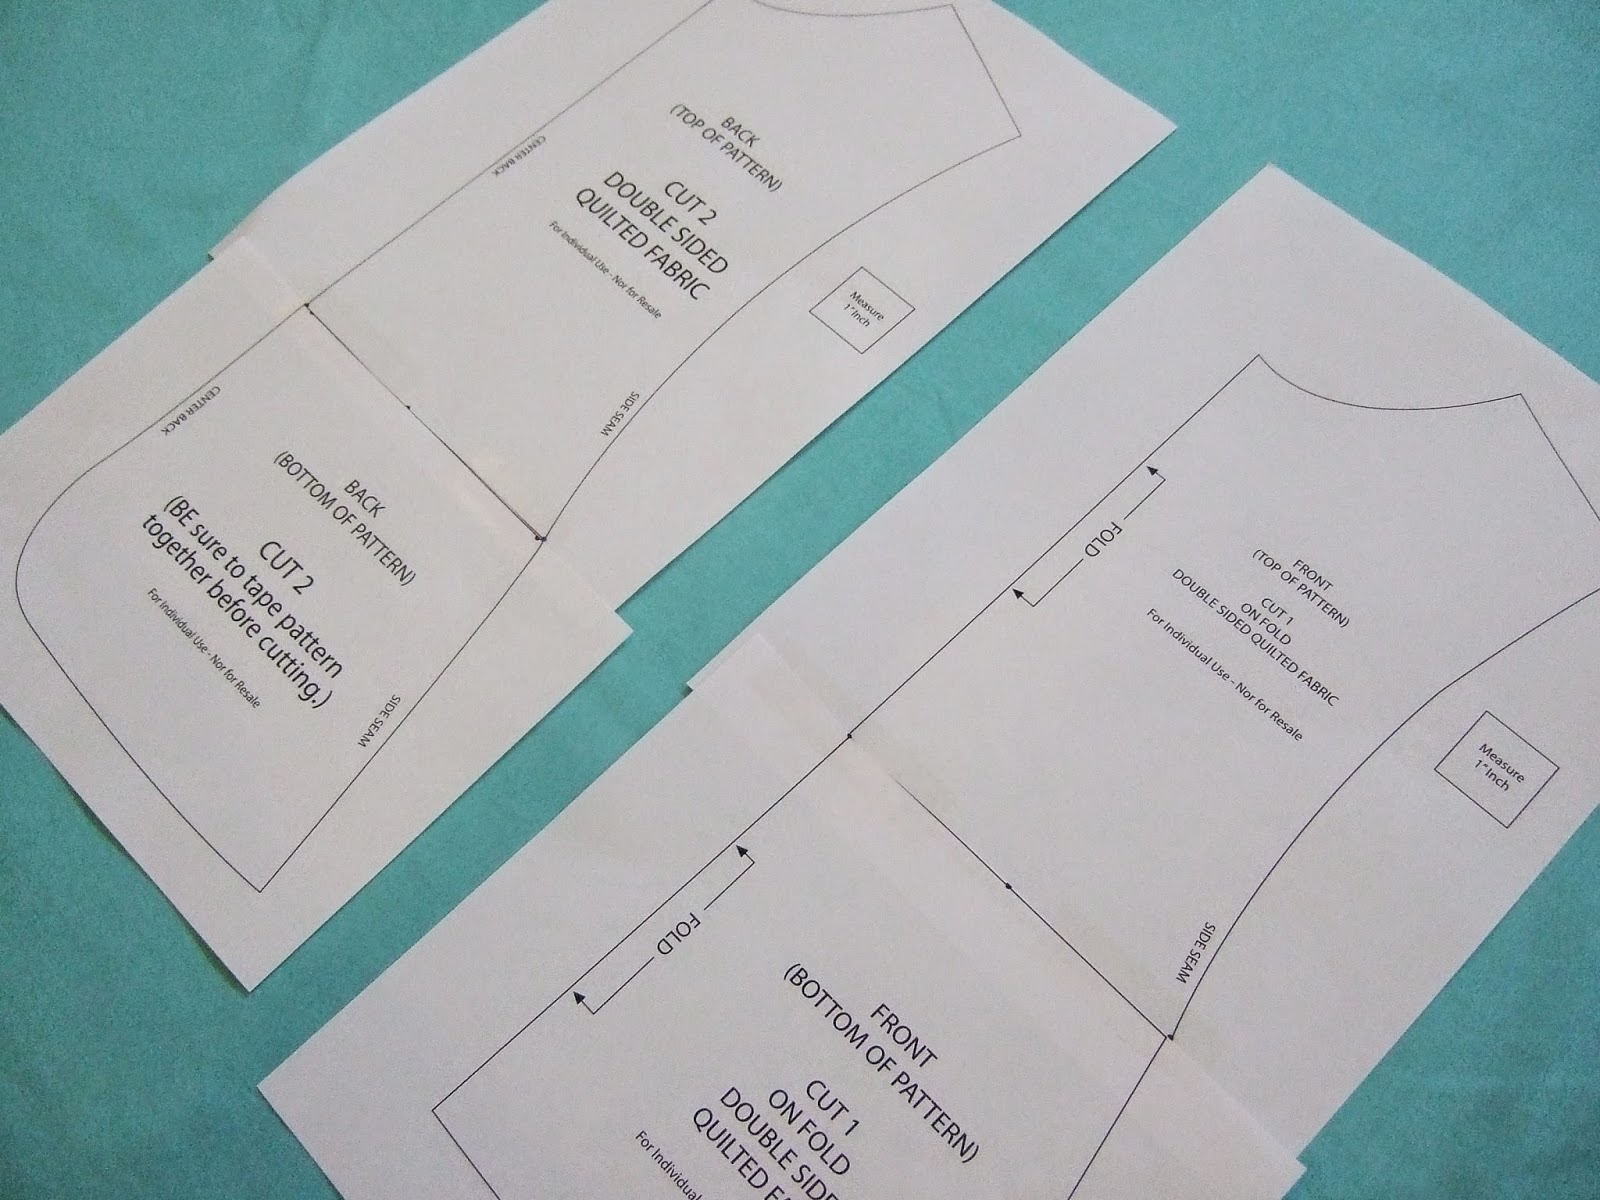
Be sure to line up the top and bottom of the front and back sections. Match the dots.
Tape them together to complete the pattern pieces.
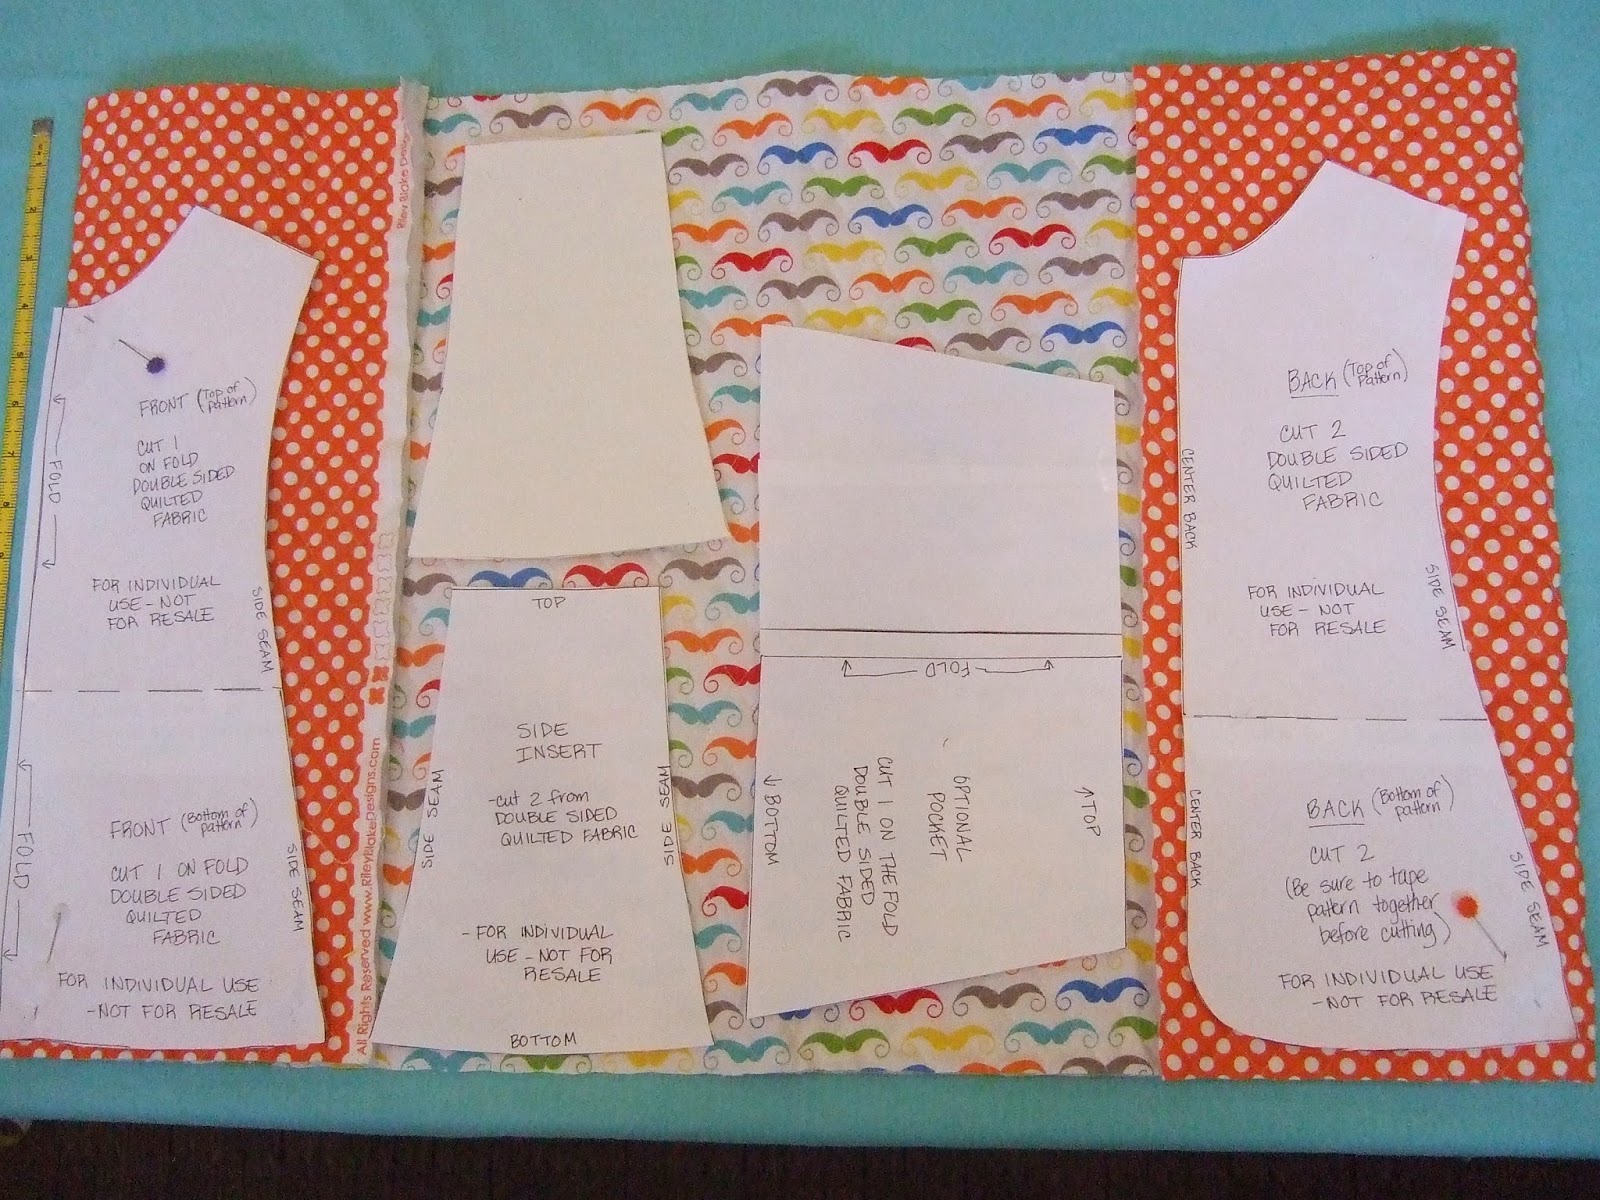
For material, like this mustache print, with a pattern which runs selvage to selvage,
you will need 1/2 yard of double sided quilted cotton fabric.
The layout above shows which direction the pieces need to be placed for cutting.
Note: take a moment before cutting your fabric to measure the 1″ box provided on the pattern pieces. This will mean that your pieces have printed out to the correct size. If your “box” does not measure 1″ you will need to check your printing parameters to make sure the file is printing at the correct size.

For material, like this chevron print, with a pattern which runs parallel to the selvage,
you will need 1 yard of double sided quilted cotton fabric.
This will make 2 smocks.
The layout above shows which direction the pieces need to be placed to be able
to cut 2 smocks.
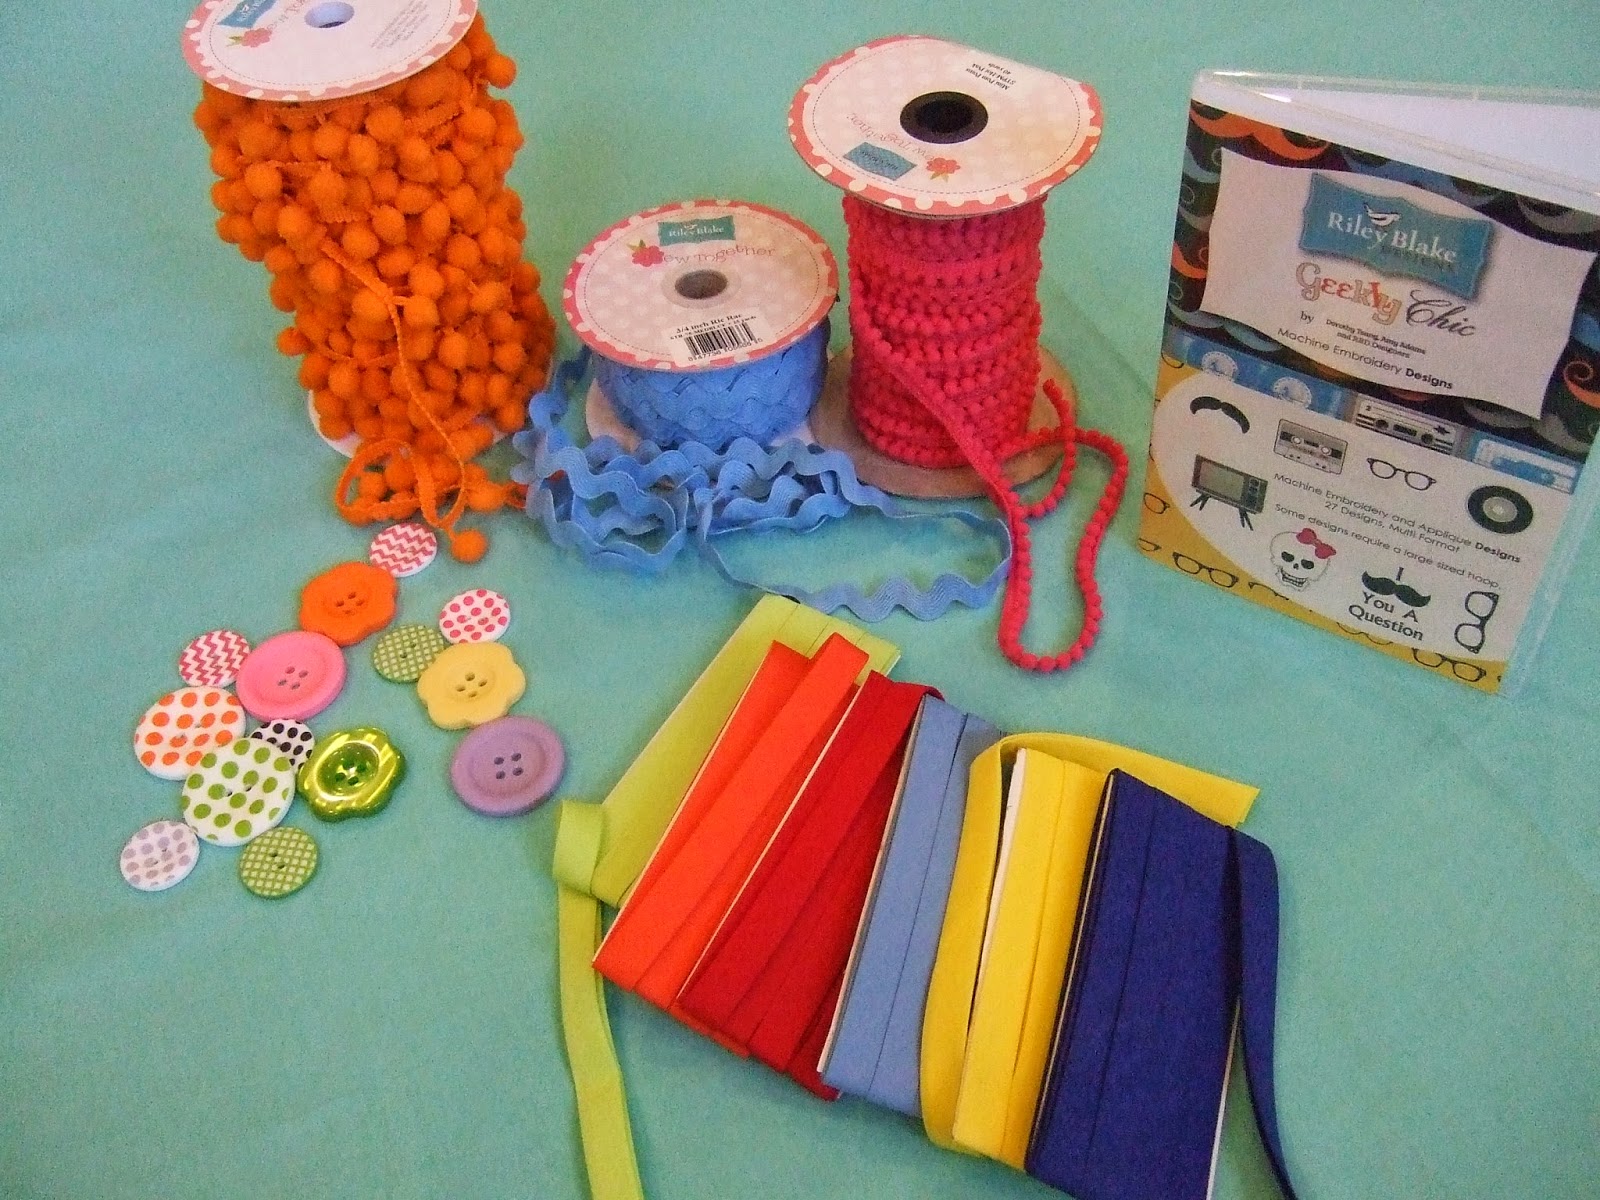
There are so many embellishments to choose from: pom poms, ric rac, buttons, bias binding in a variety of colors and of course an embroidery CD with geekly chic designs, from
Riley Blake Designs, that Aniva used to embellish using her Bernina.
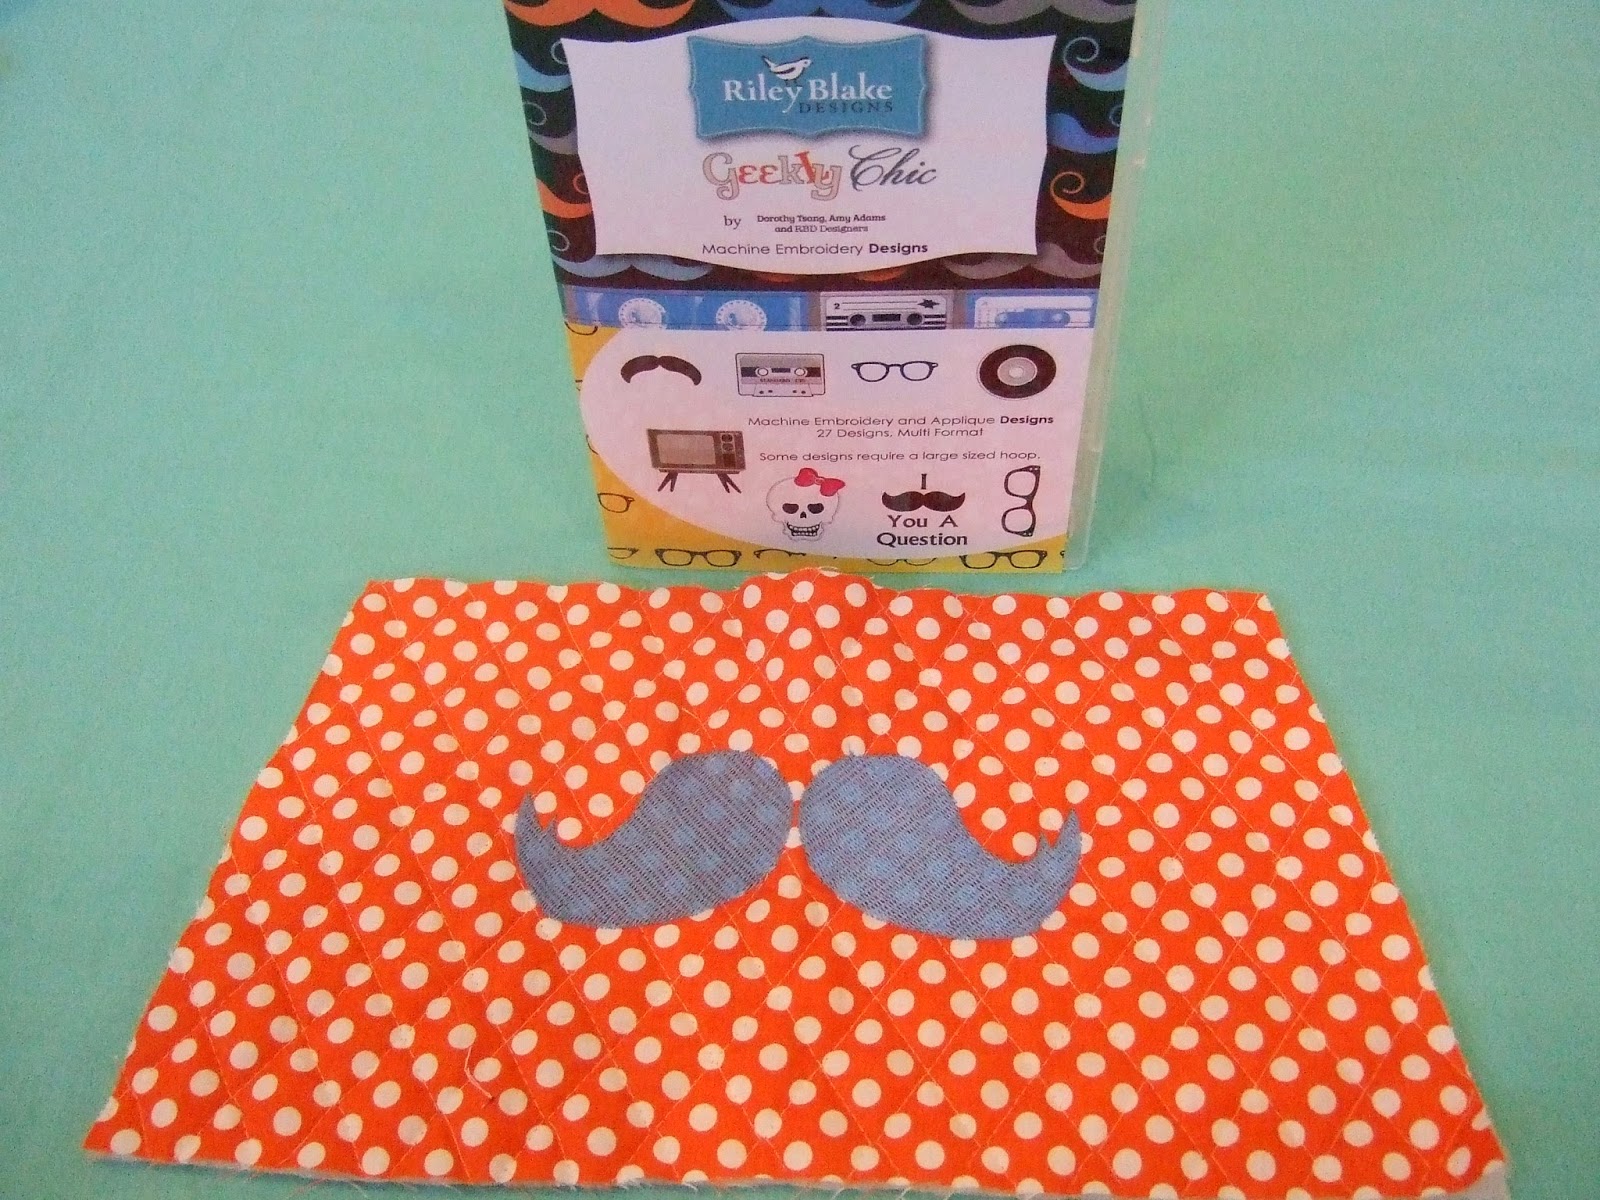
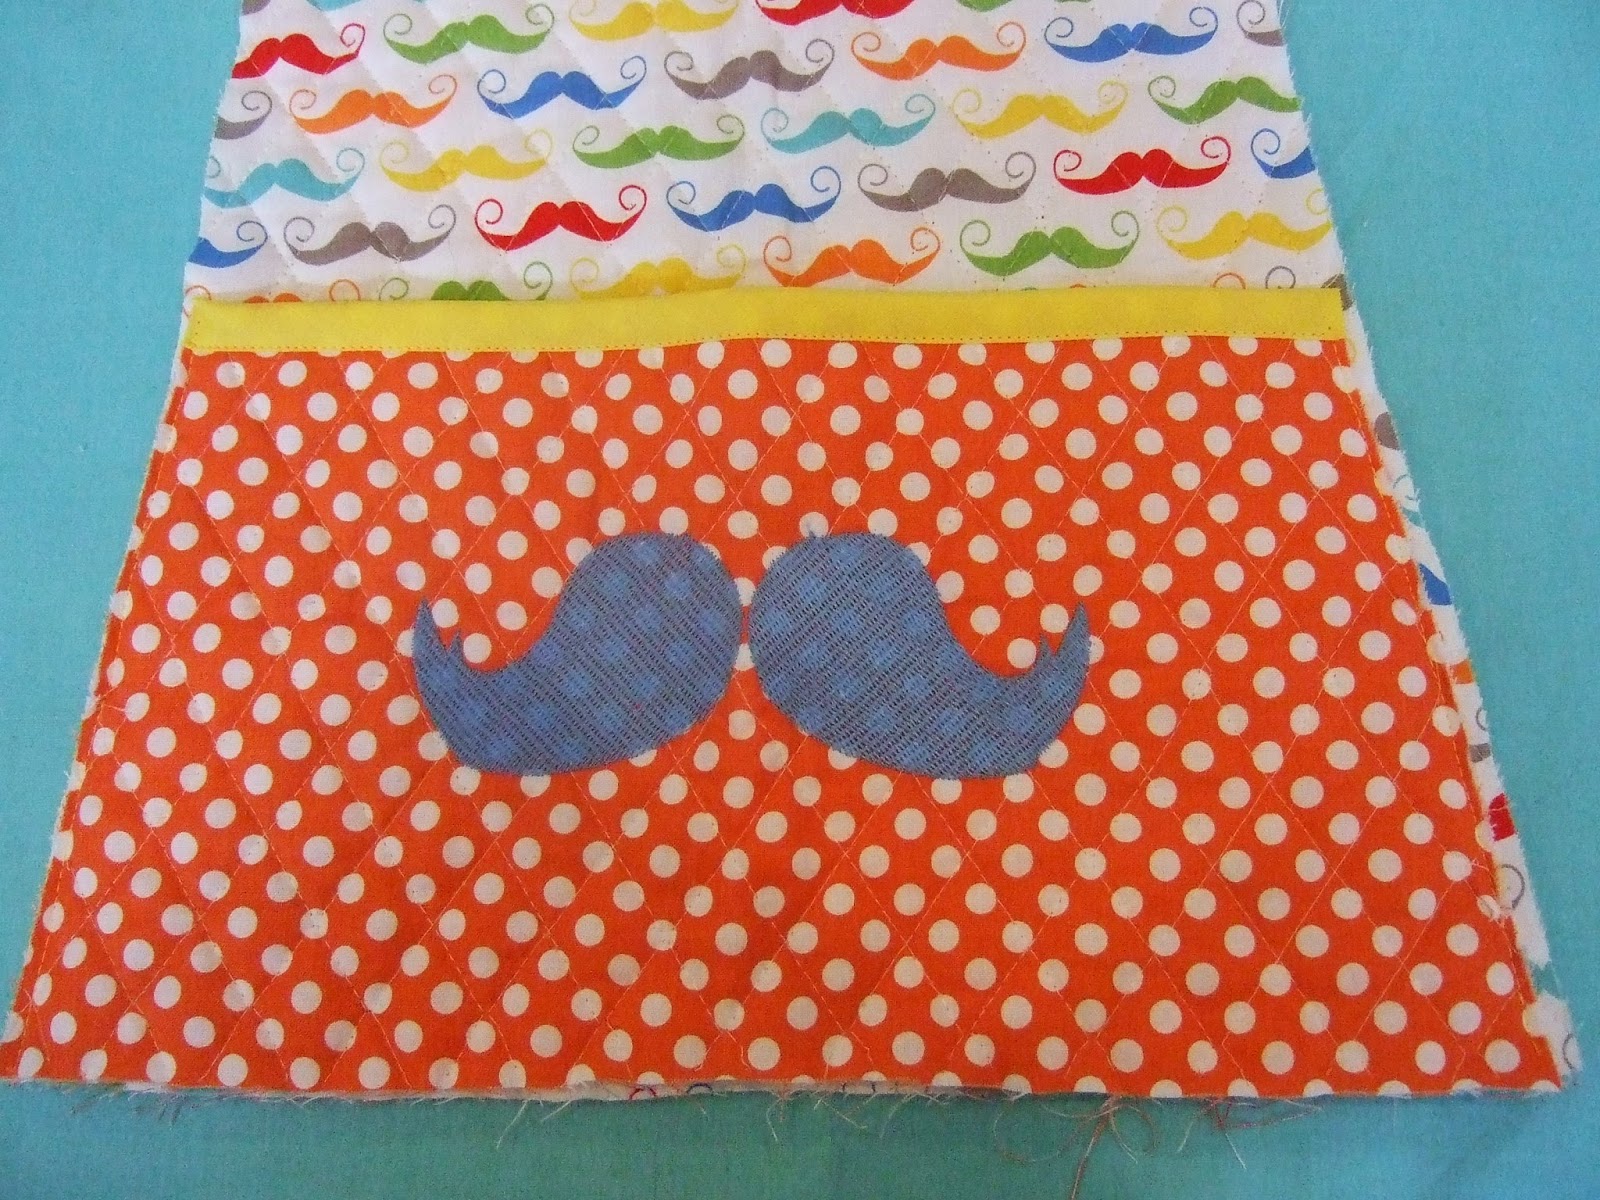
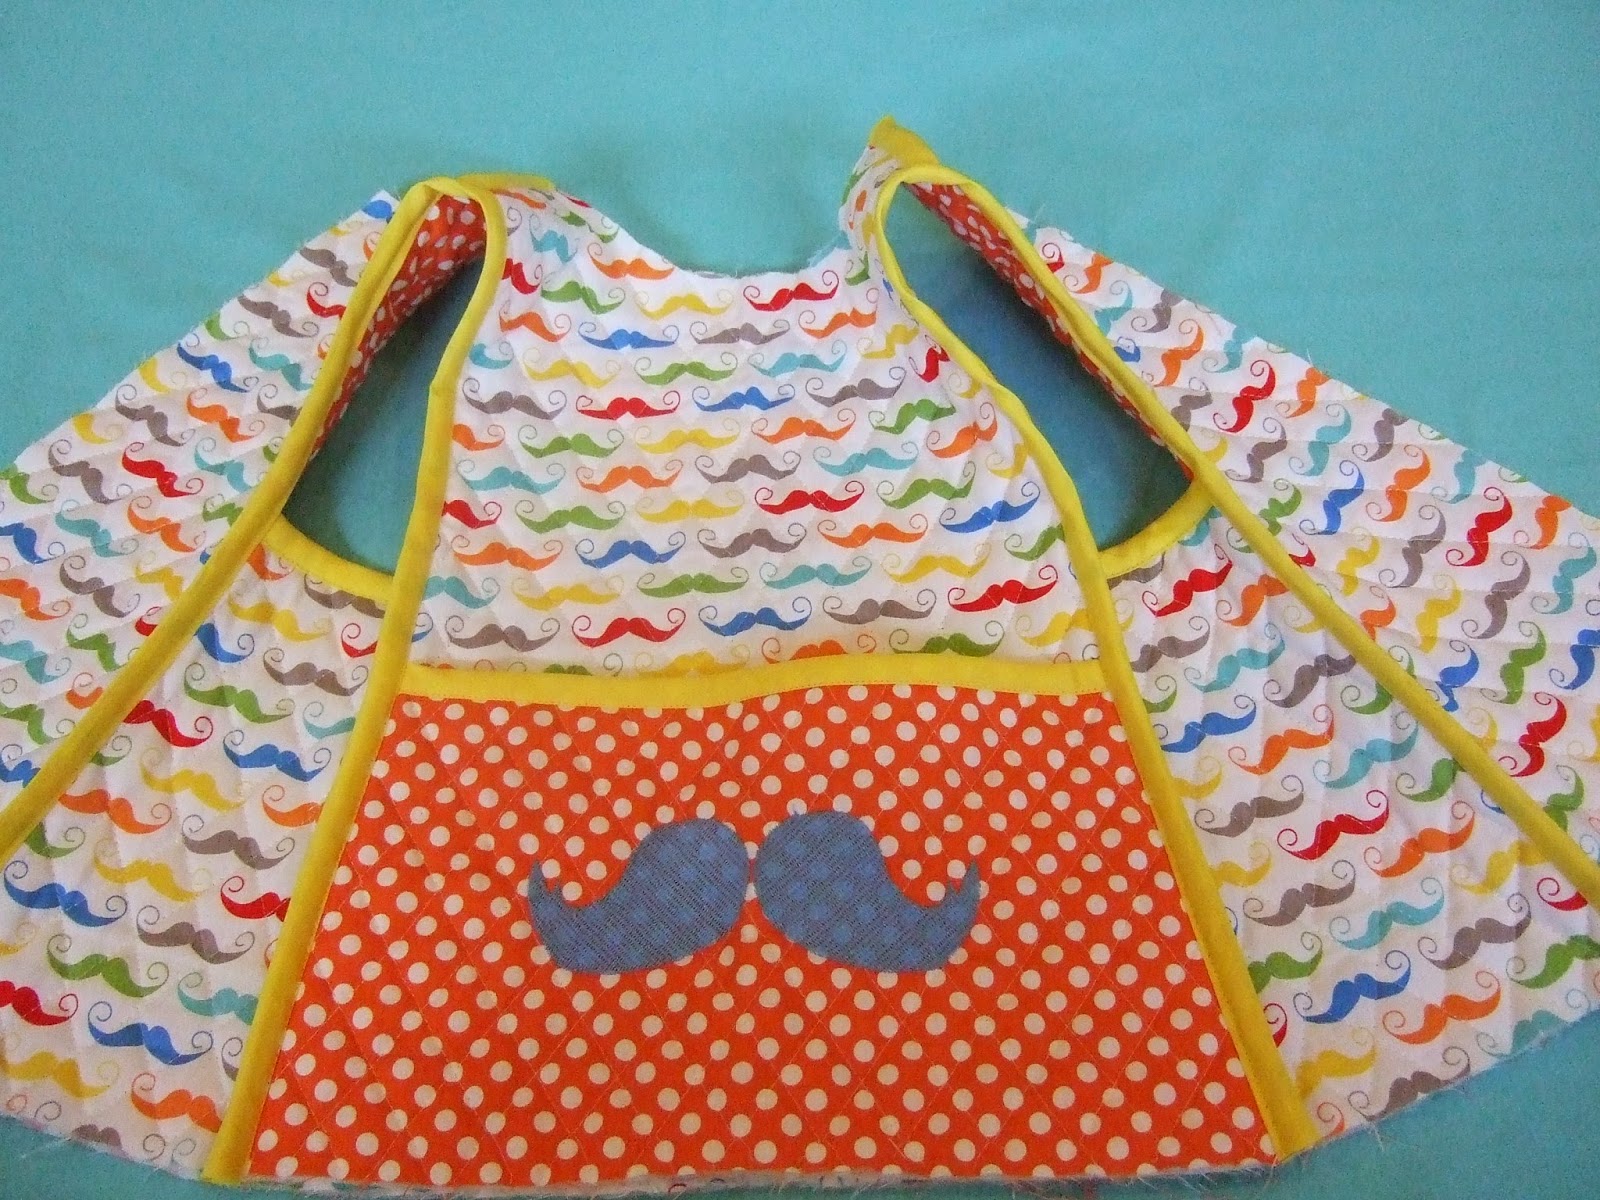
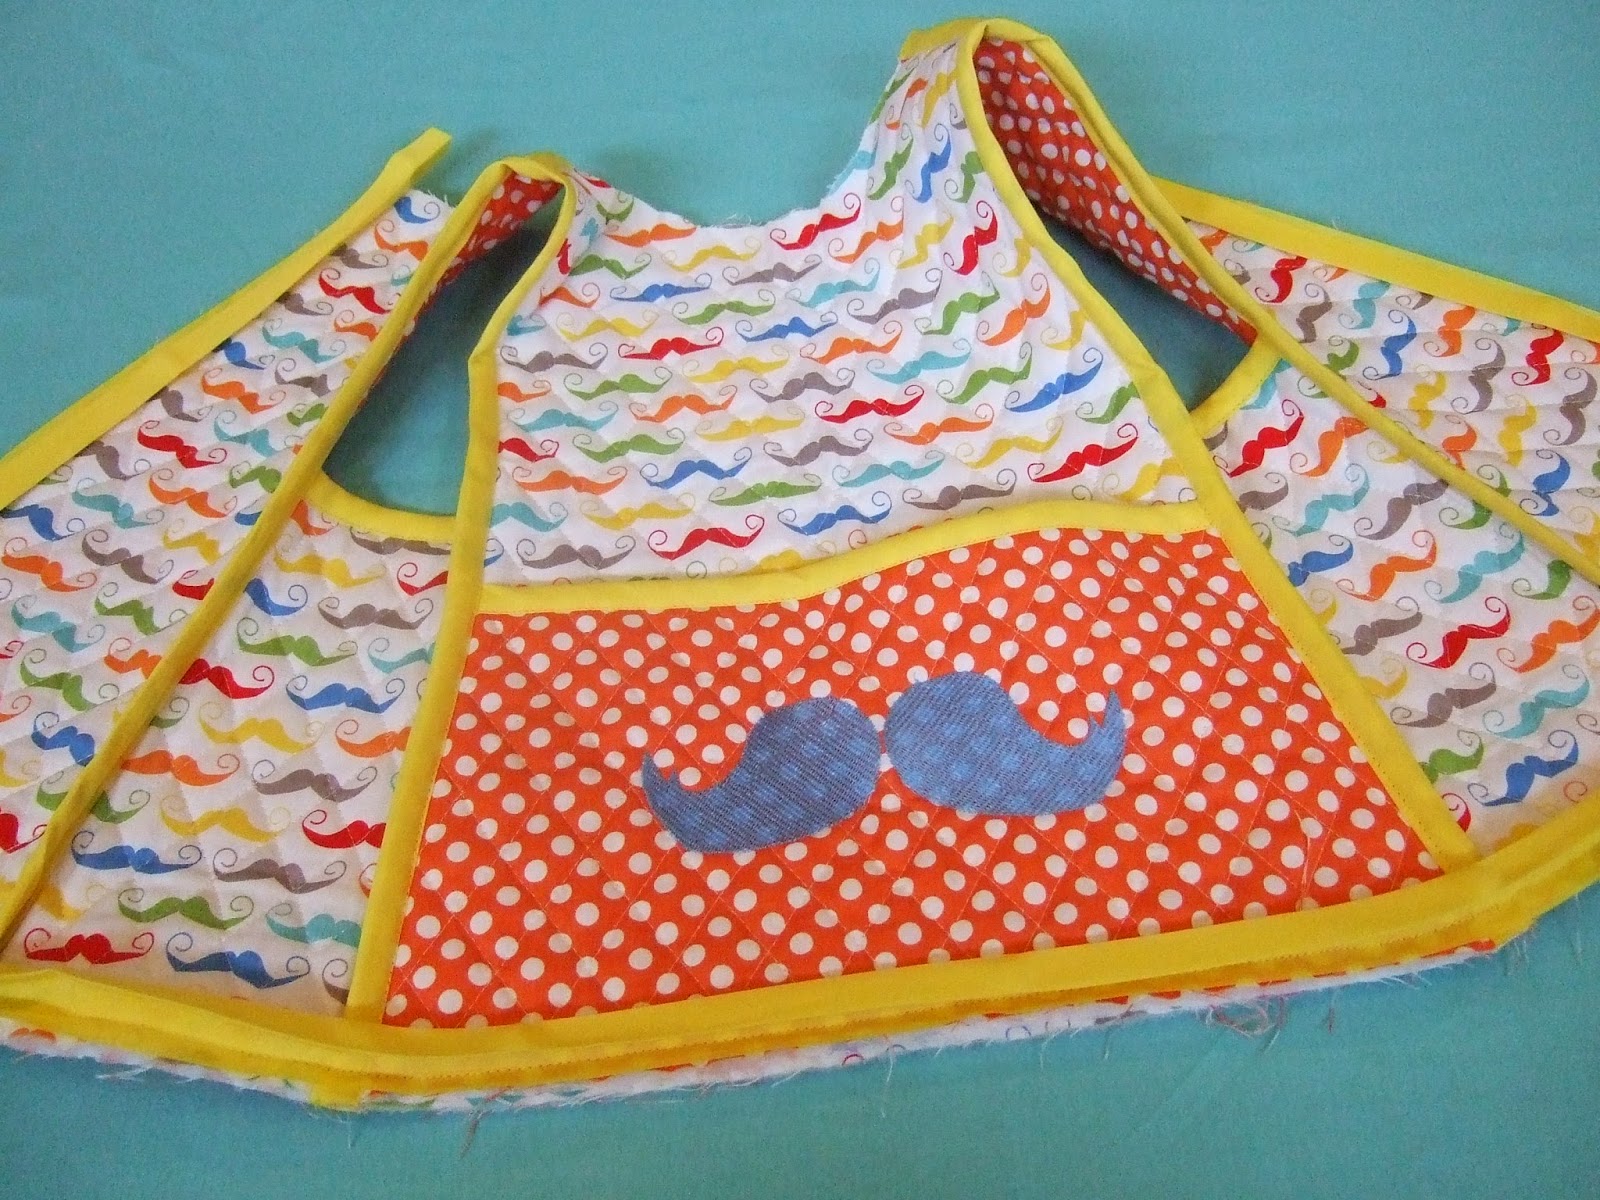
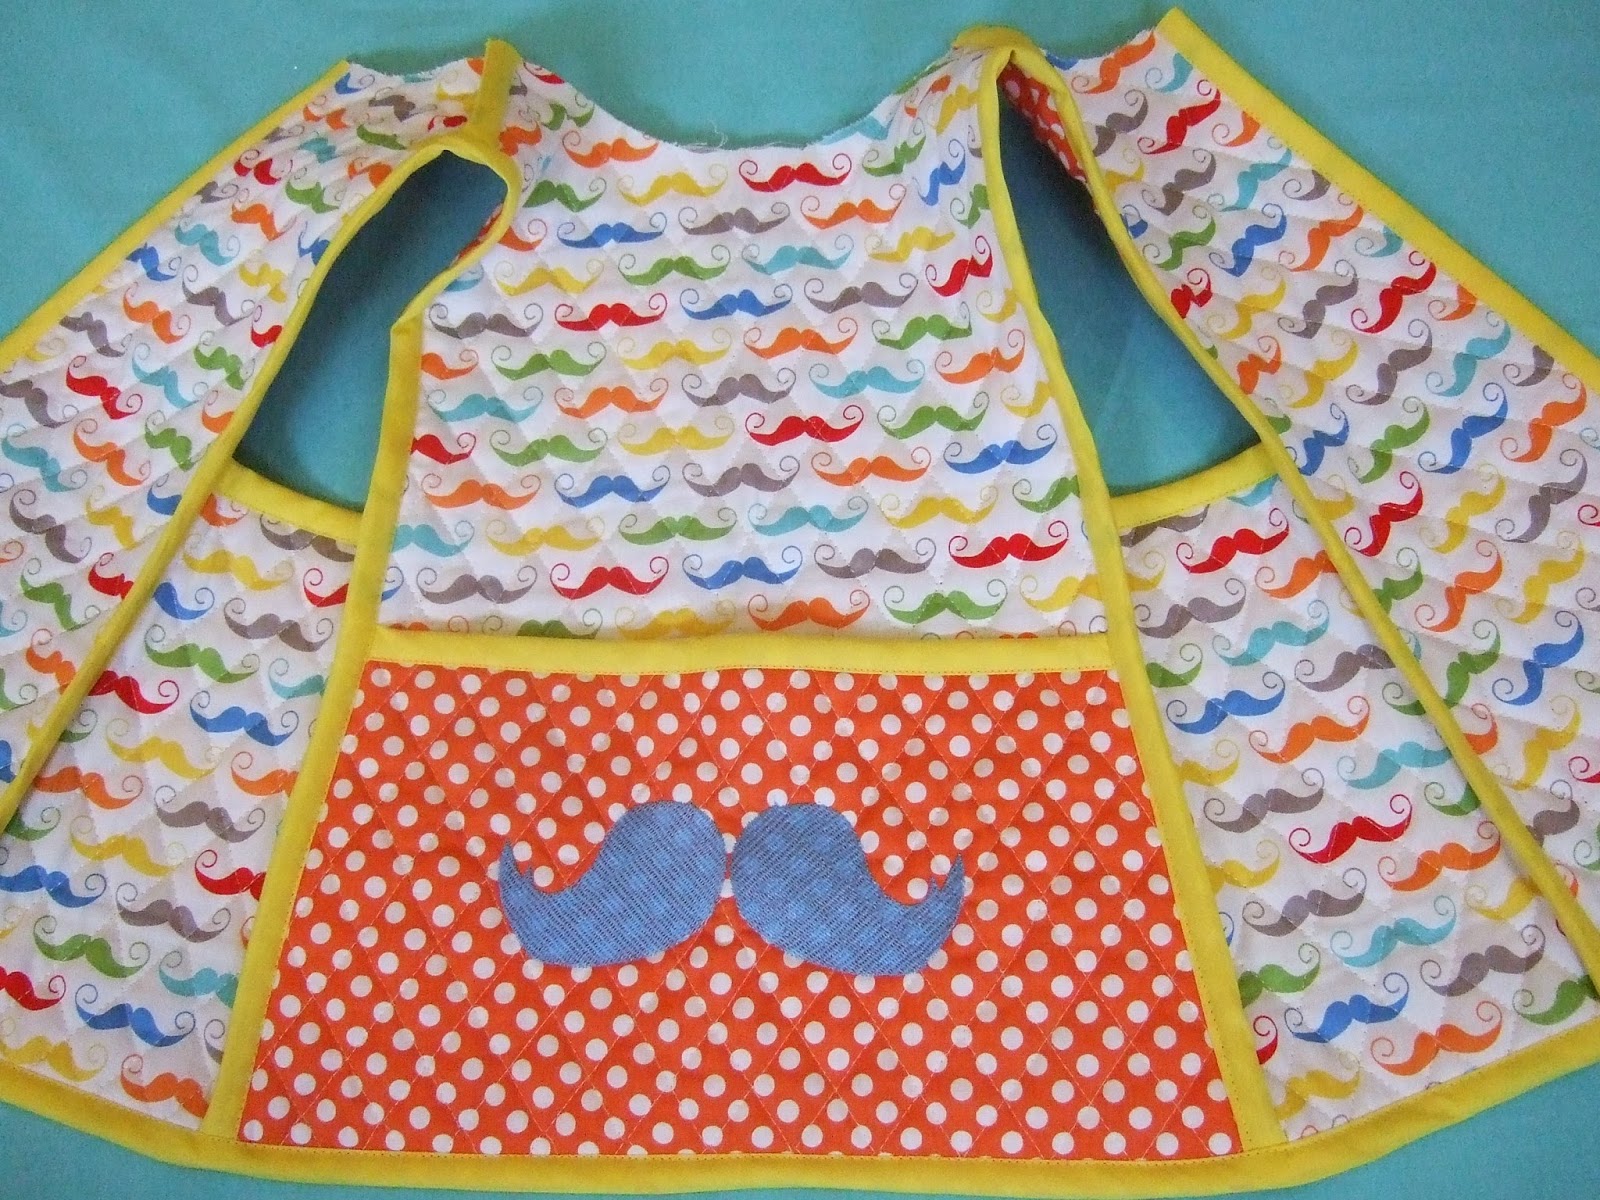
Before sewing your smock pieces together you will want to plan where you would like your embellishments to go. Aniva embroidered a mustache on the front pocket first.
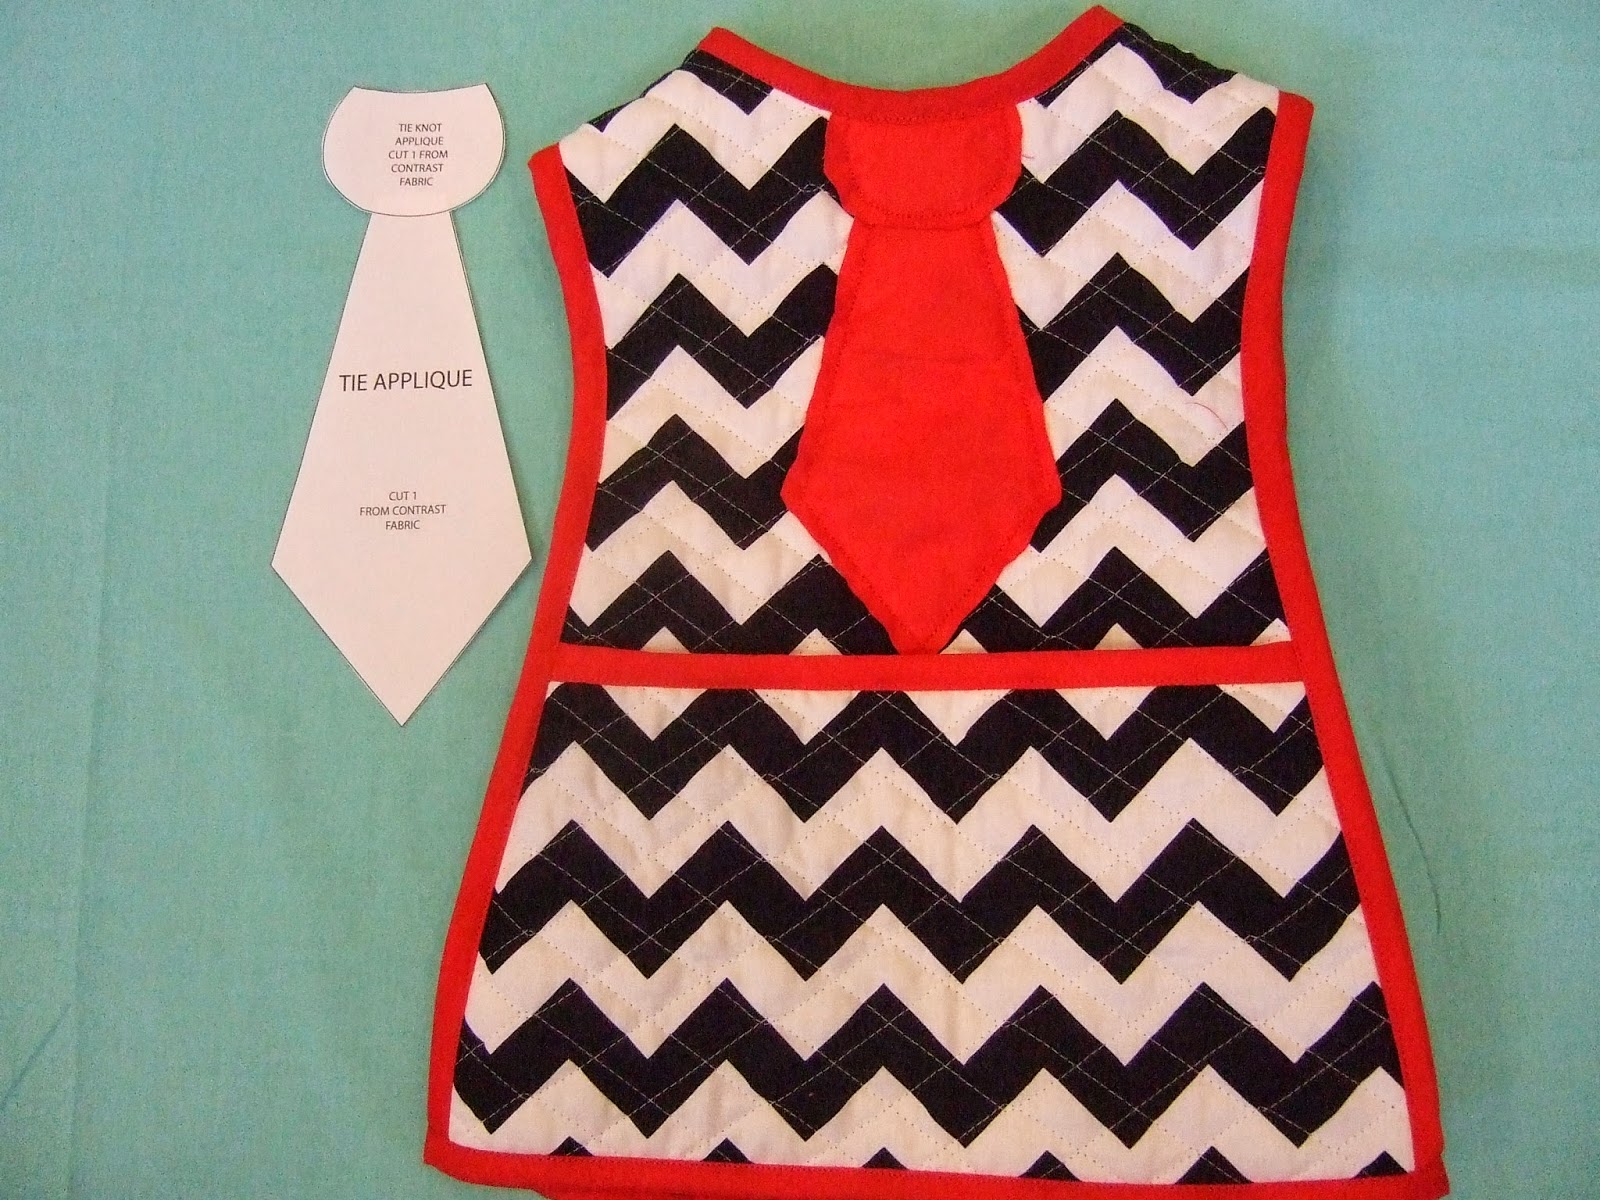
If you want to have a cute tie, use the tie template provided. Trace and cut your tie template out of your selected fabric. Use your favorite applique method and secure to the smock front section.
Another fun embellishment would be to add a cute flower.
There are so many fun tutorials online for making flowers.
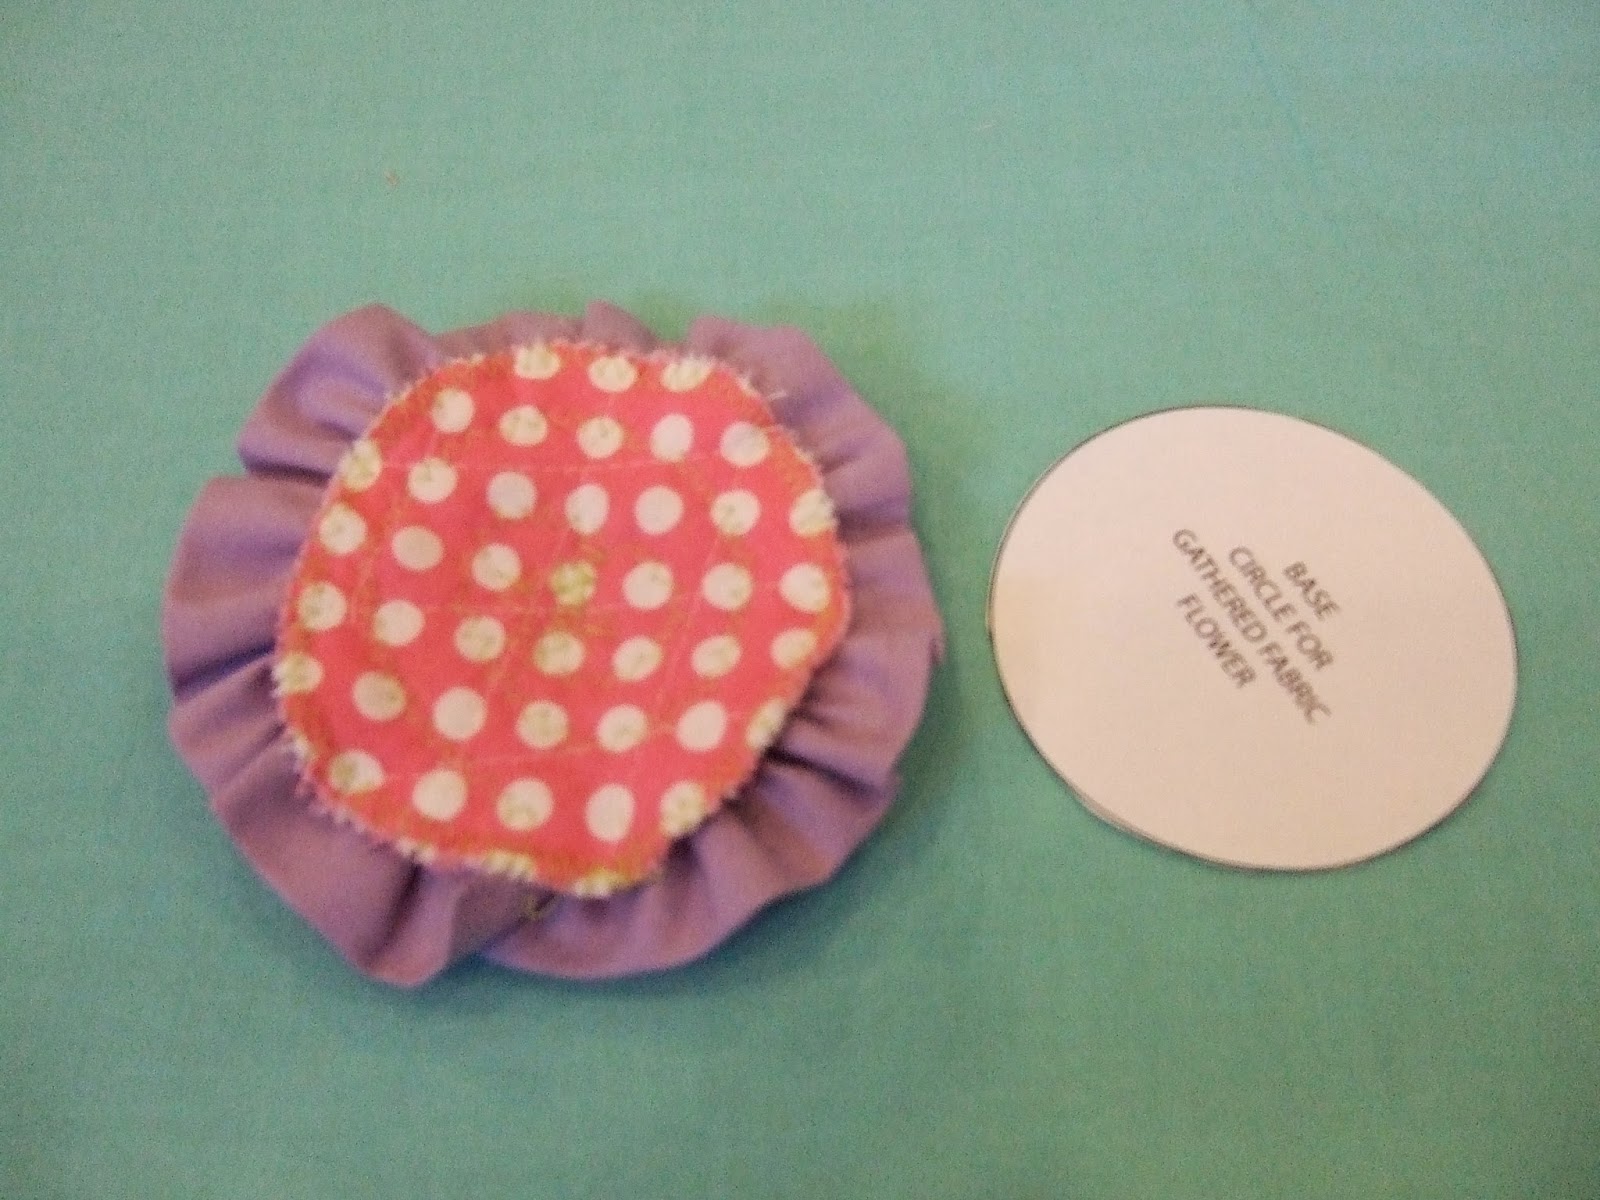
Or, use a scrap of the double sided quilted cotton to cut a circle with the template provided. Zig zag the edge of the circle to prevent fraying.
Cut a 2 1/2″ x 40″ strip of contrasting cotton fabric.
Fold and press the fabric in half lengthwise. Gather along the cut edge.

Sew the gathered strip onto the quilted cotton circle in a spiral from the outside edge into the center. Sew a button to the center to finish.
(You can see a photo of the flower on a smock later in this post).
The appliqué and embroidery embellishments need to be done before you sew the smock together. The gathered flower can be sewn on at the very end of the project.
After you have decided how you want to embellish and have completed the embellishing, if it needs to be done first…you can begin sewing your smock.

Before sewing with bias tape NOTE…there is one side slightly “wider” and one side slightly “narrower” than other side.
The “wider” side of the bias tape should be the side that is sewn when the tape is top stitched…in other words…it is the underside of the bias tape and the “wider” portion of the fold will help you “catch” the bias tape when you turn it and top stitch it. Some people find it frustrating to sew with bias tape because they don’t realize the sides of the tape are actually different widths, so look closely and you will see what we mean. Just in case this doesn’t make sense to you there are many video tutorials on line that you can watch.
Just search the internet for “How to Properly Sew with Bias Tape”
and watch a few videos before starting to sew.
We will be showing the method we prefer using for sewing bias tape,
knowing that there are various methods.
Please choose your favorite method that works best for you.

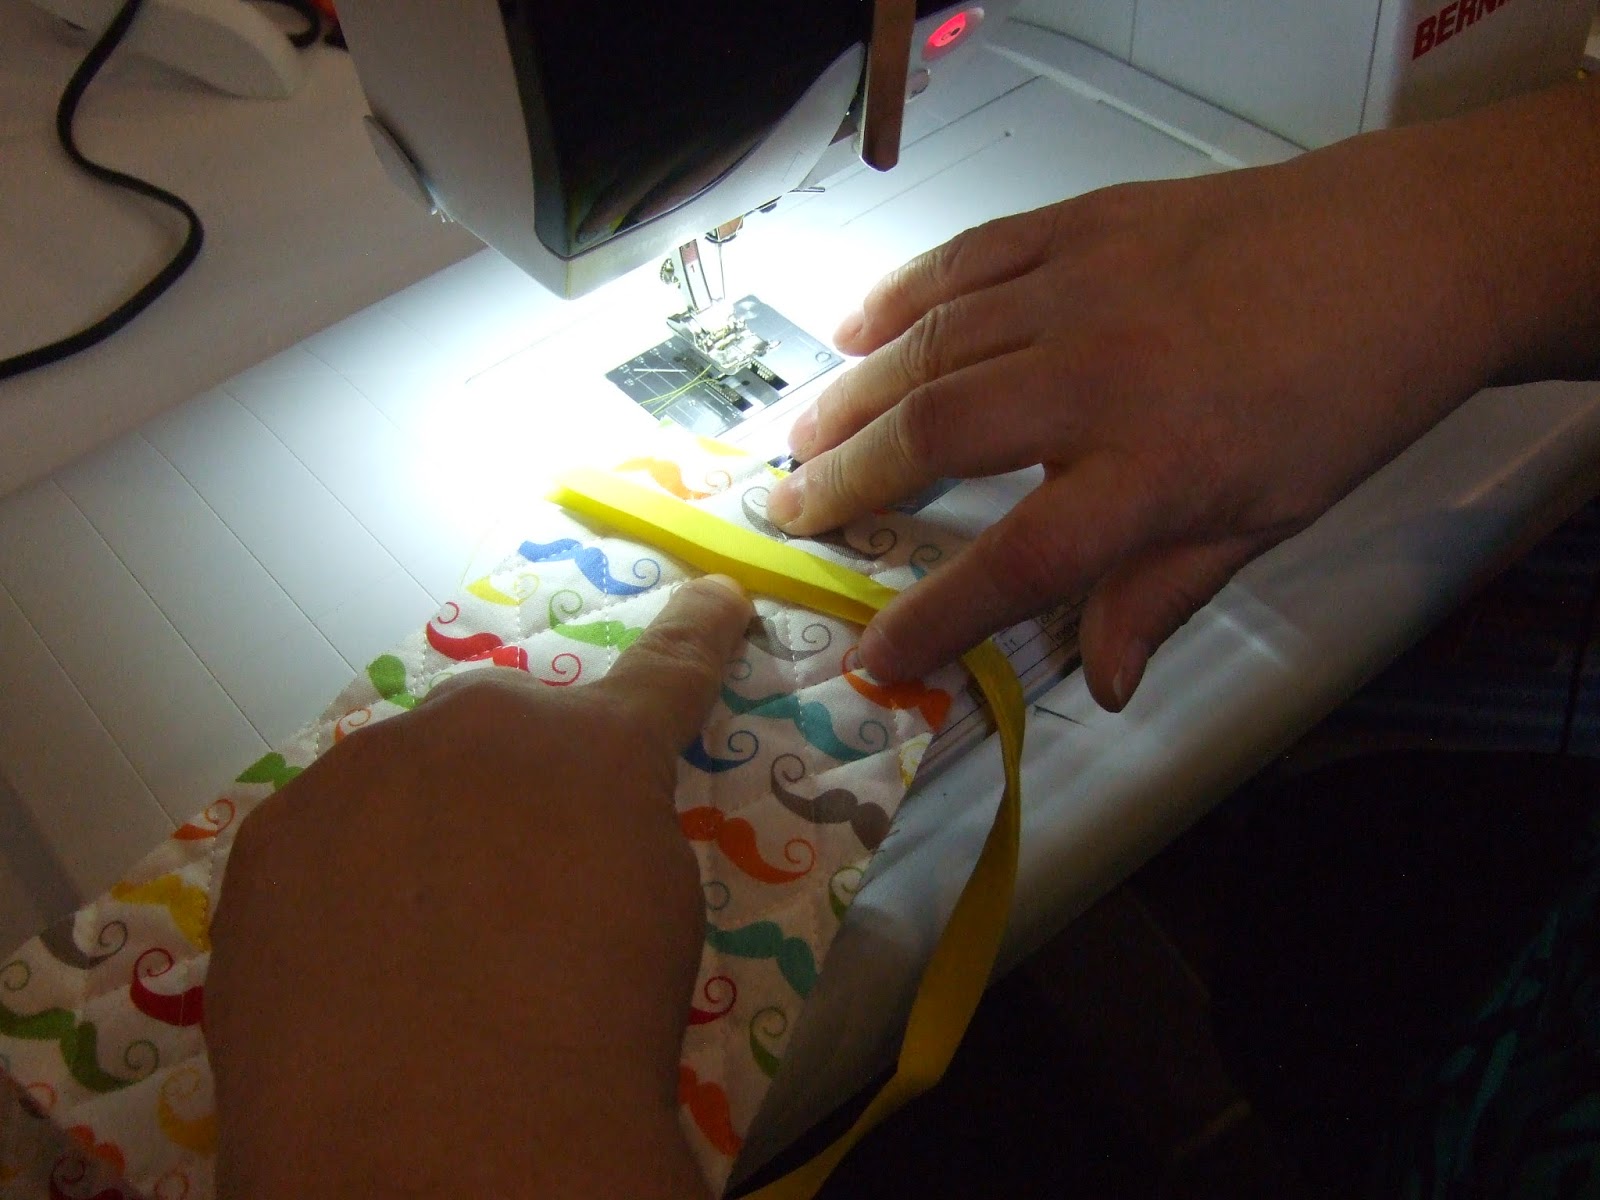
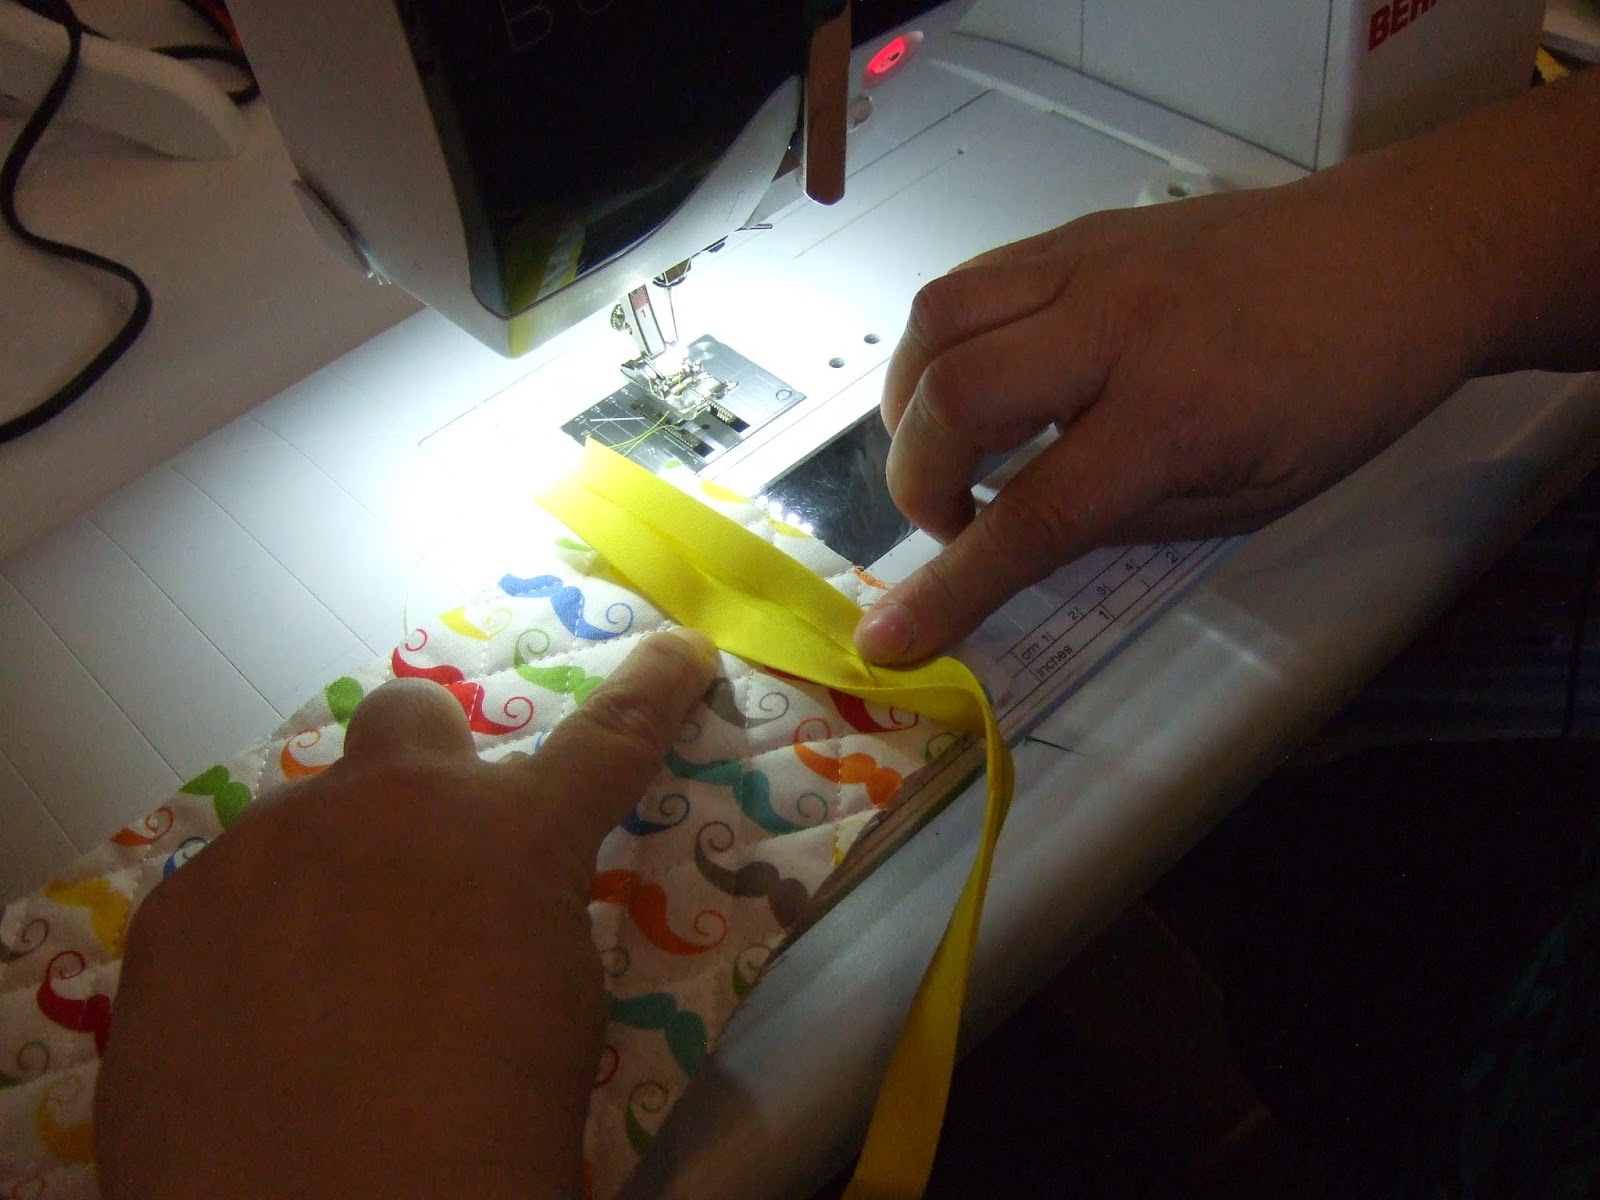
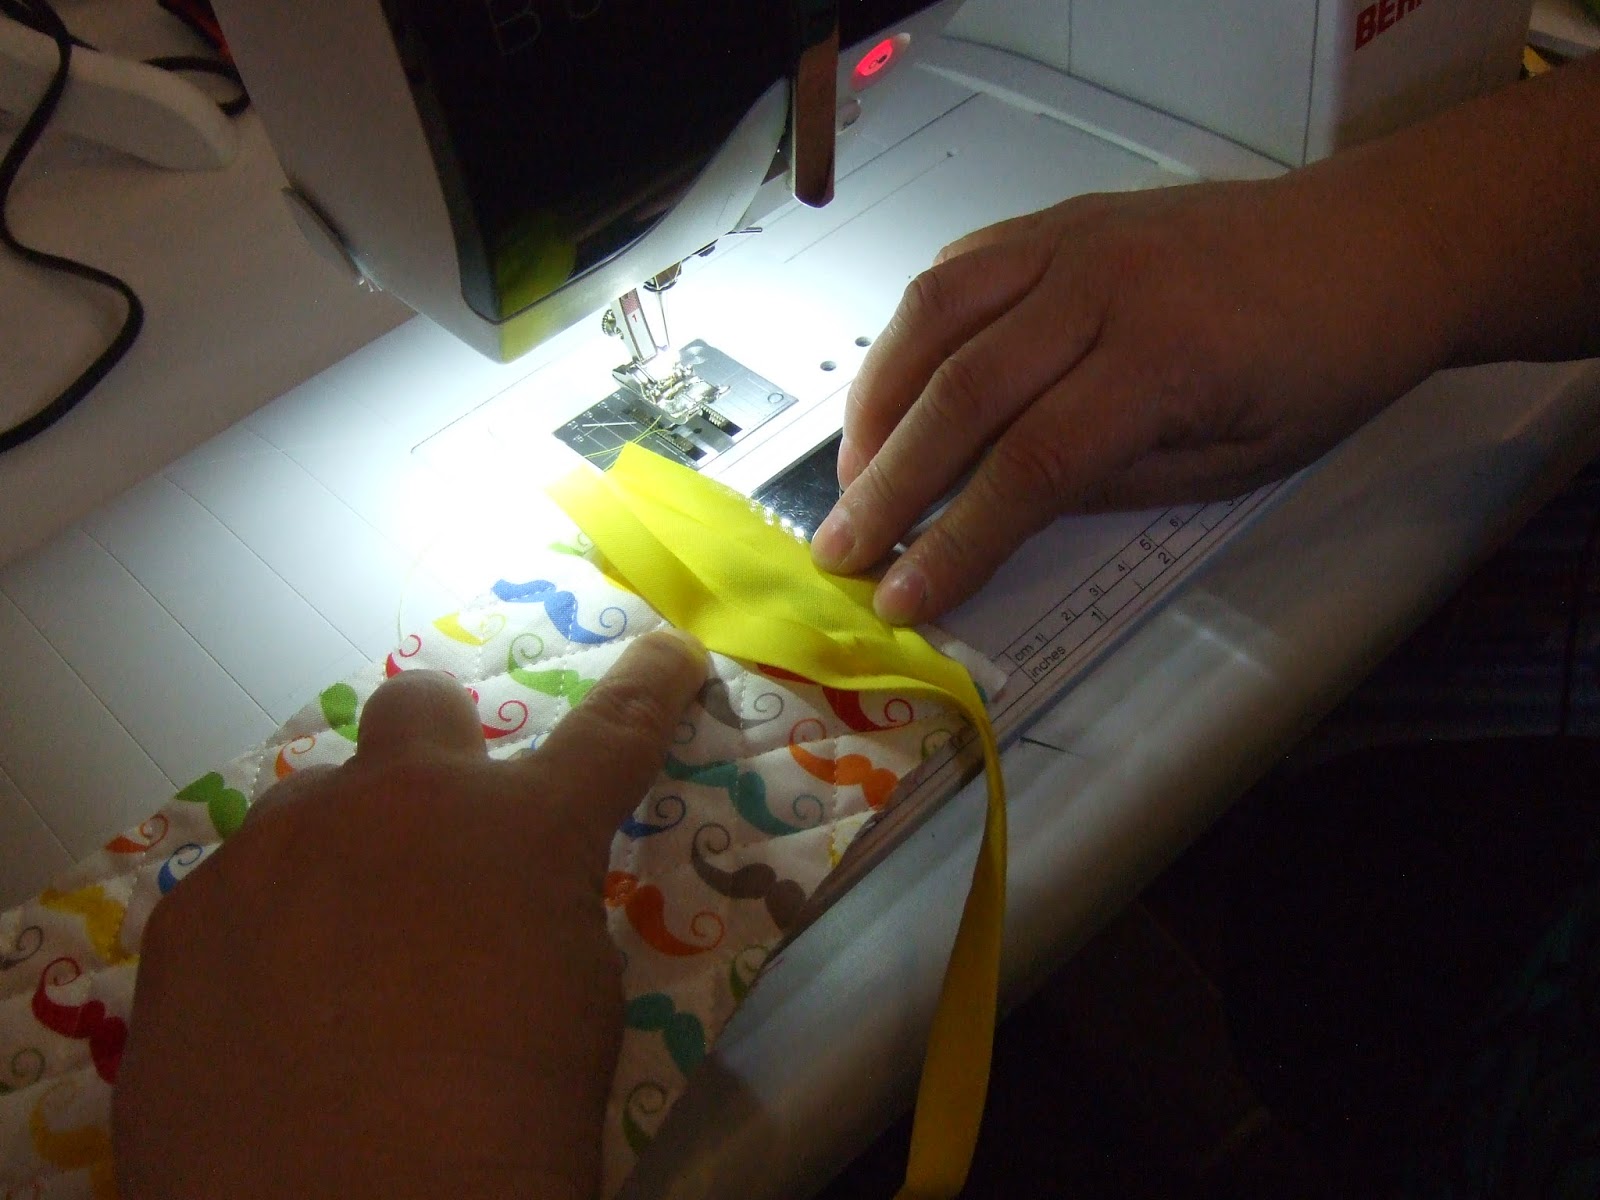
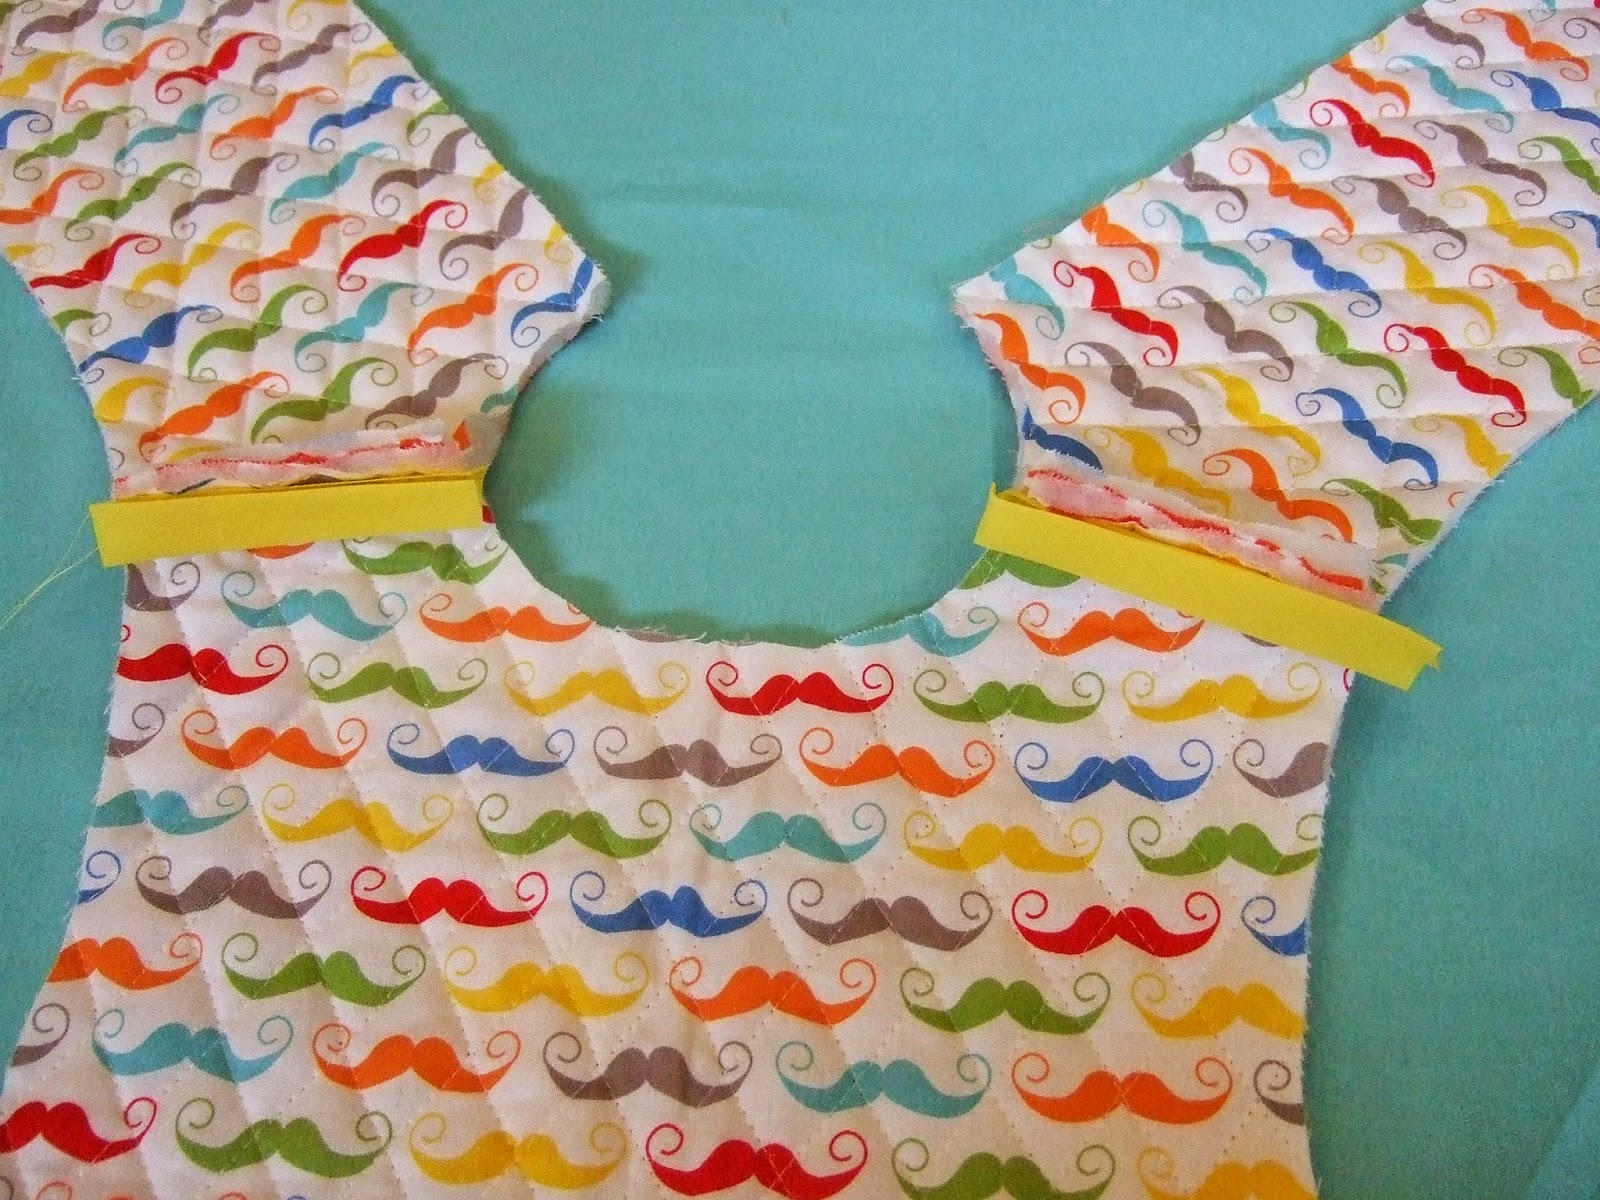
You want to unfold the bias tape and place the “narrower” side of the bias tape right sides together with the top edge of the side insert piece of double sided quilted cotton fabric.
Stitch on the “fold” line closest to the edge of the bias tape.
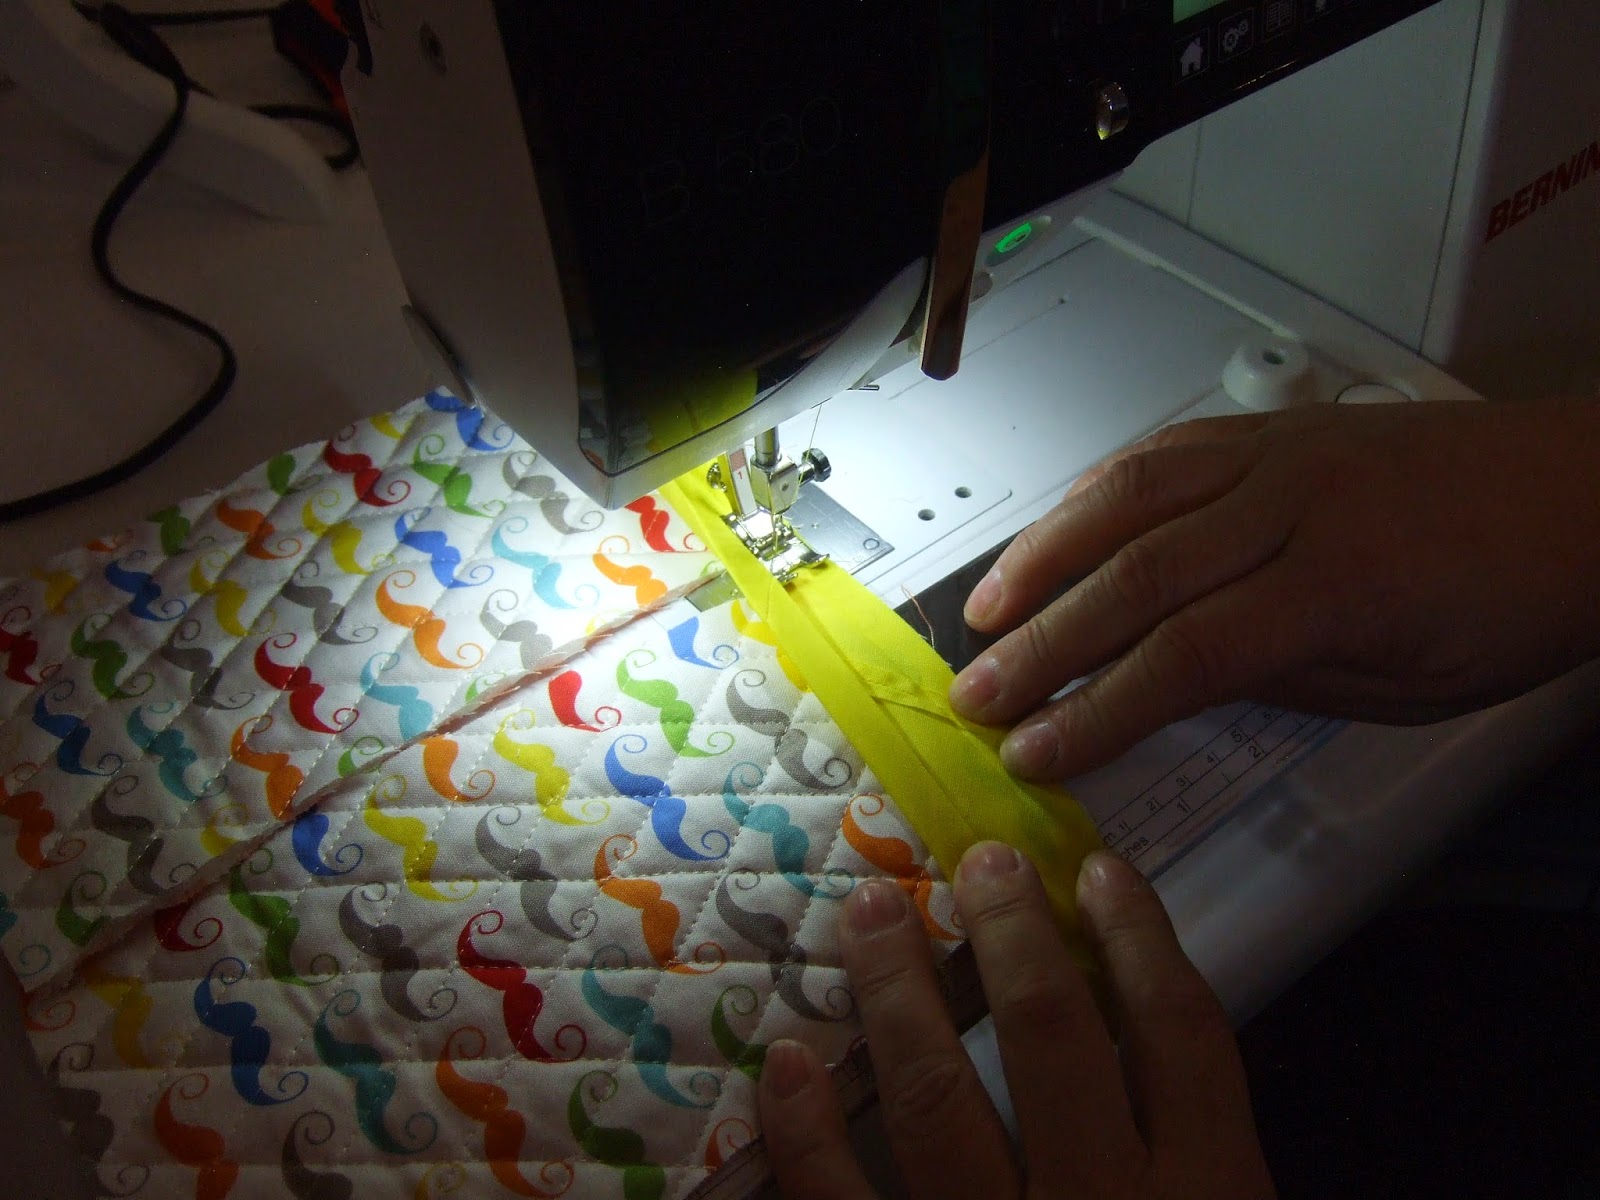
Note…we sew continuously (chain) across the raw edges
of both side insert pieces and the top of the pocket.

This is the top of the pocket.

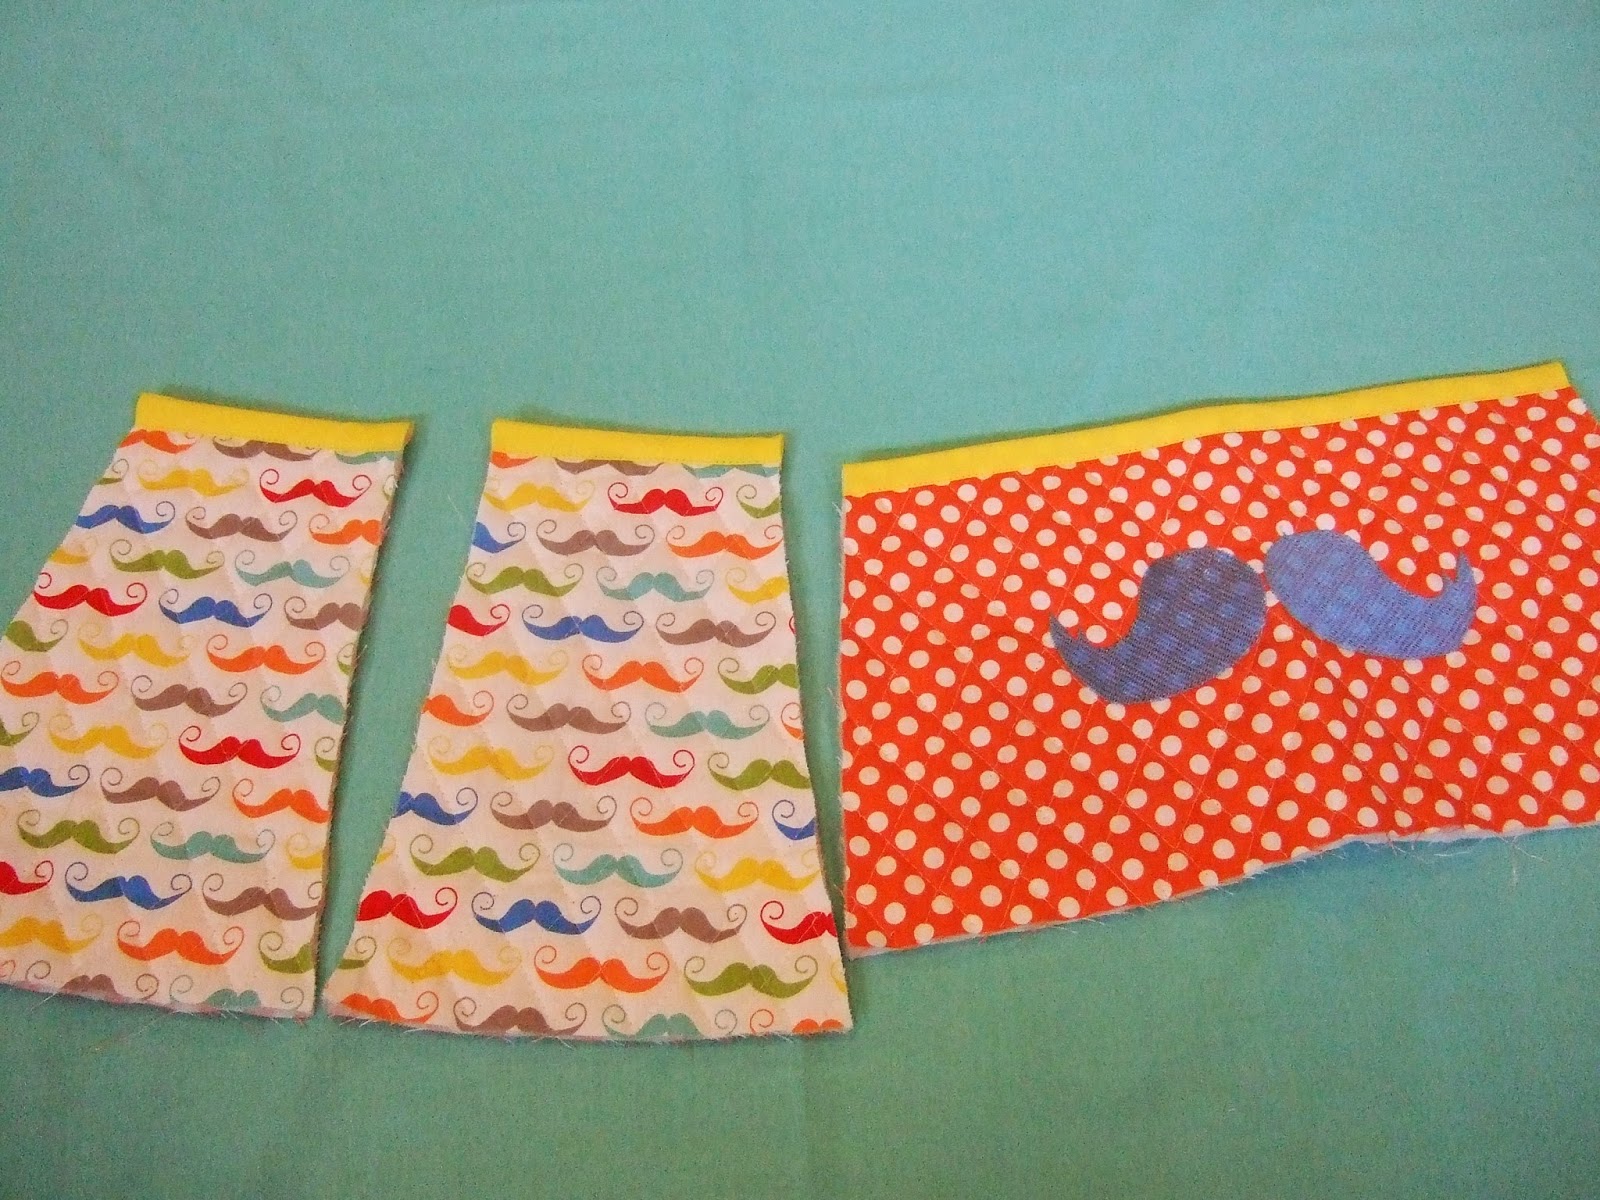
Cut apart the pieces.

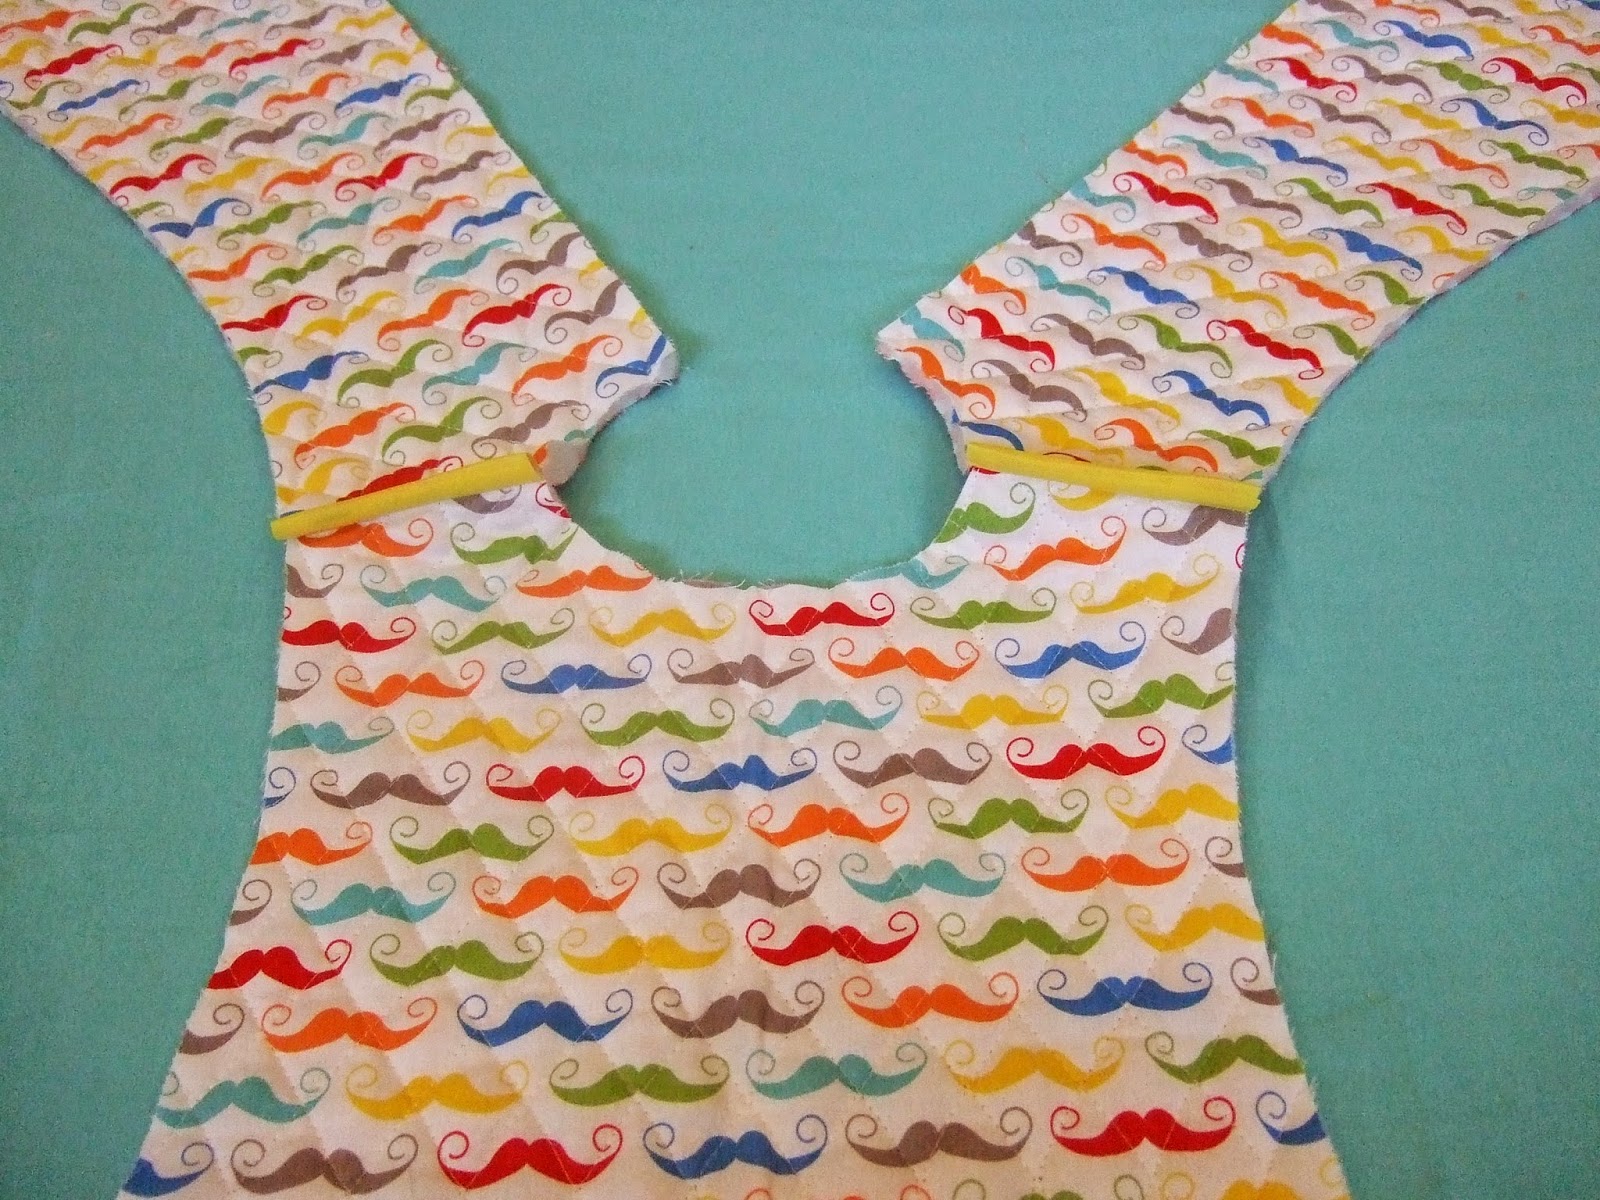
Flip bias tape to the other side.
Top stitch in place…you can use a fancy stitch for the top stitching
if your machine has one you like.
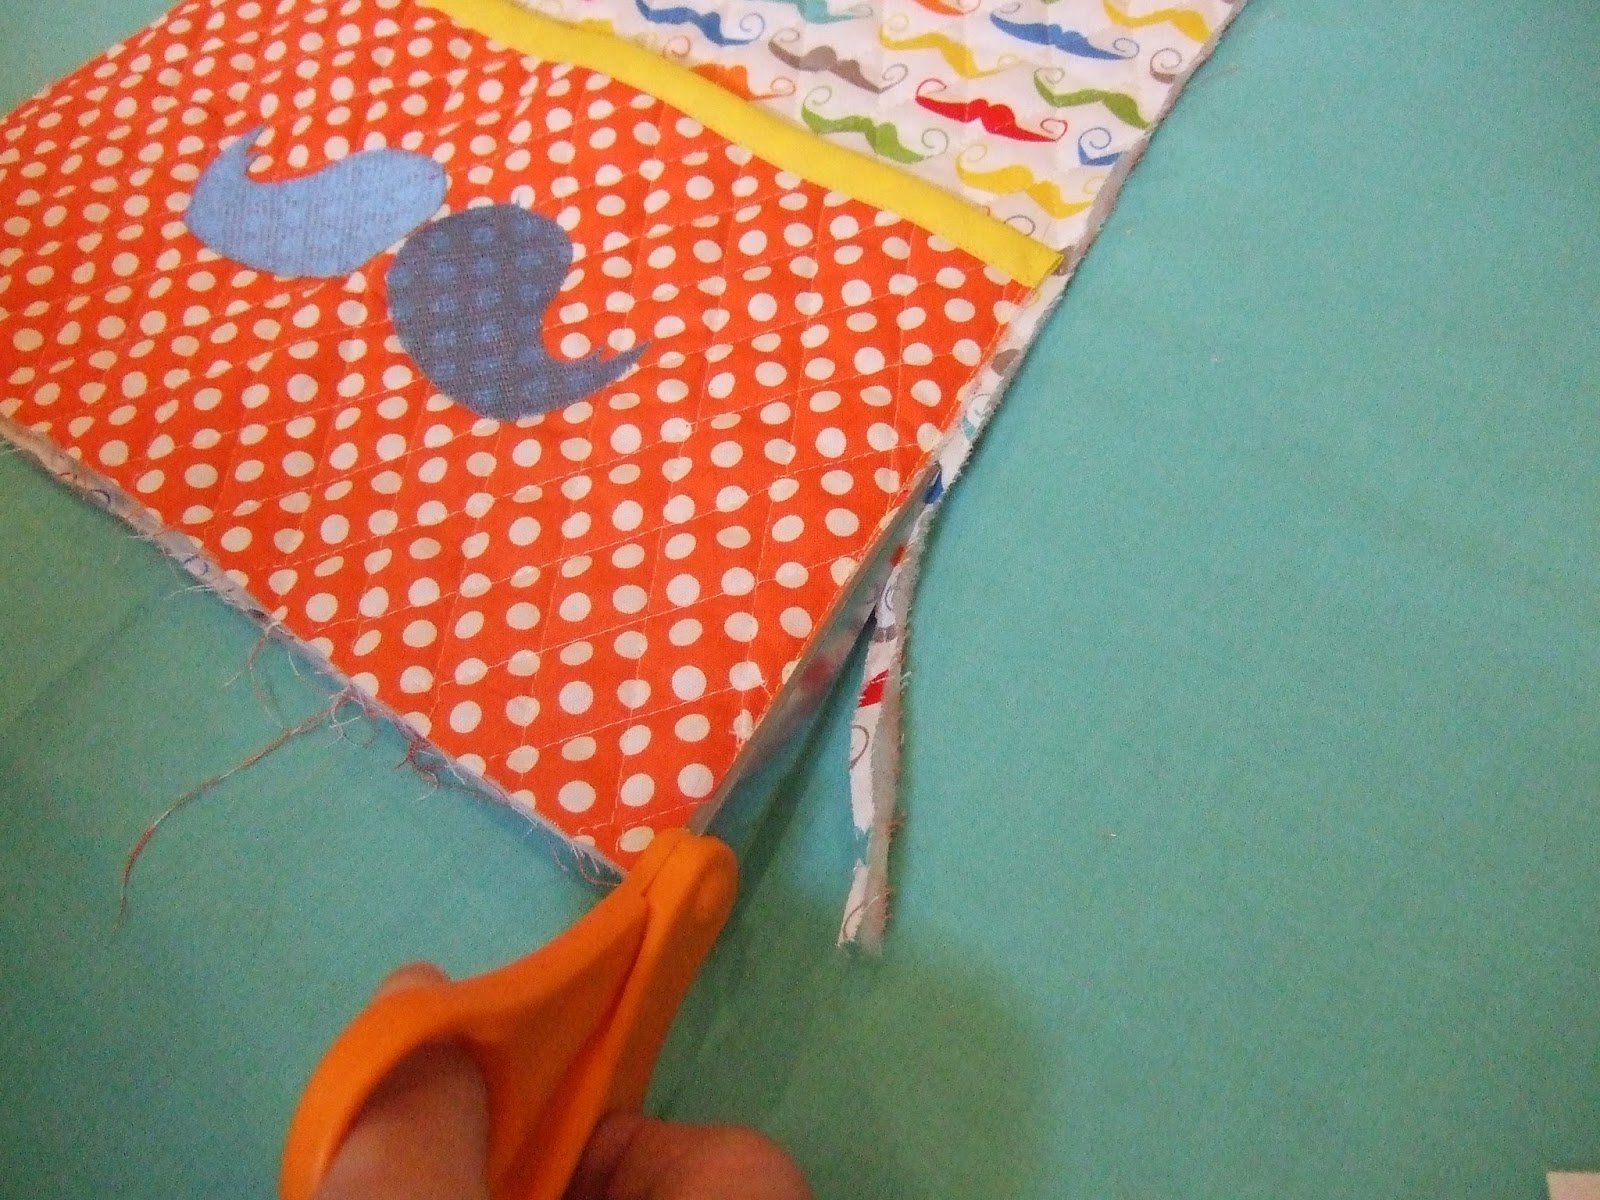
Trim excess bias tape.
Make the edges of the bias tape nice and flush with the fabric.

Pin shoulder seams WITH WRONG SIDES TOGETHER of back and front pieces.

Sew bias tape to shoulder seam.
Flip bias tape to the other side. Top stitch in place.
Trim bias tape edges even with the fabric on the neck and shoulder edge.
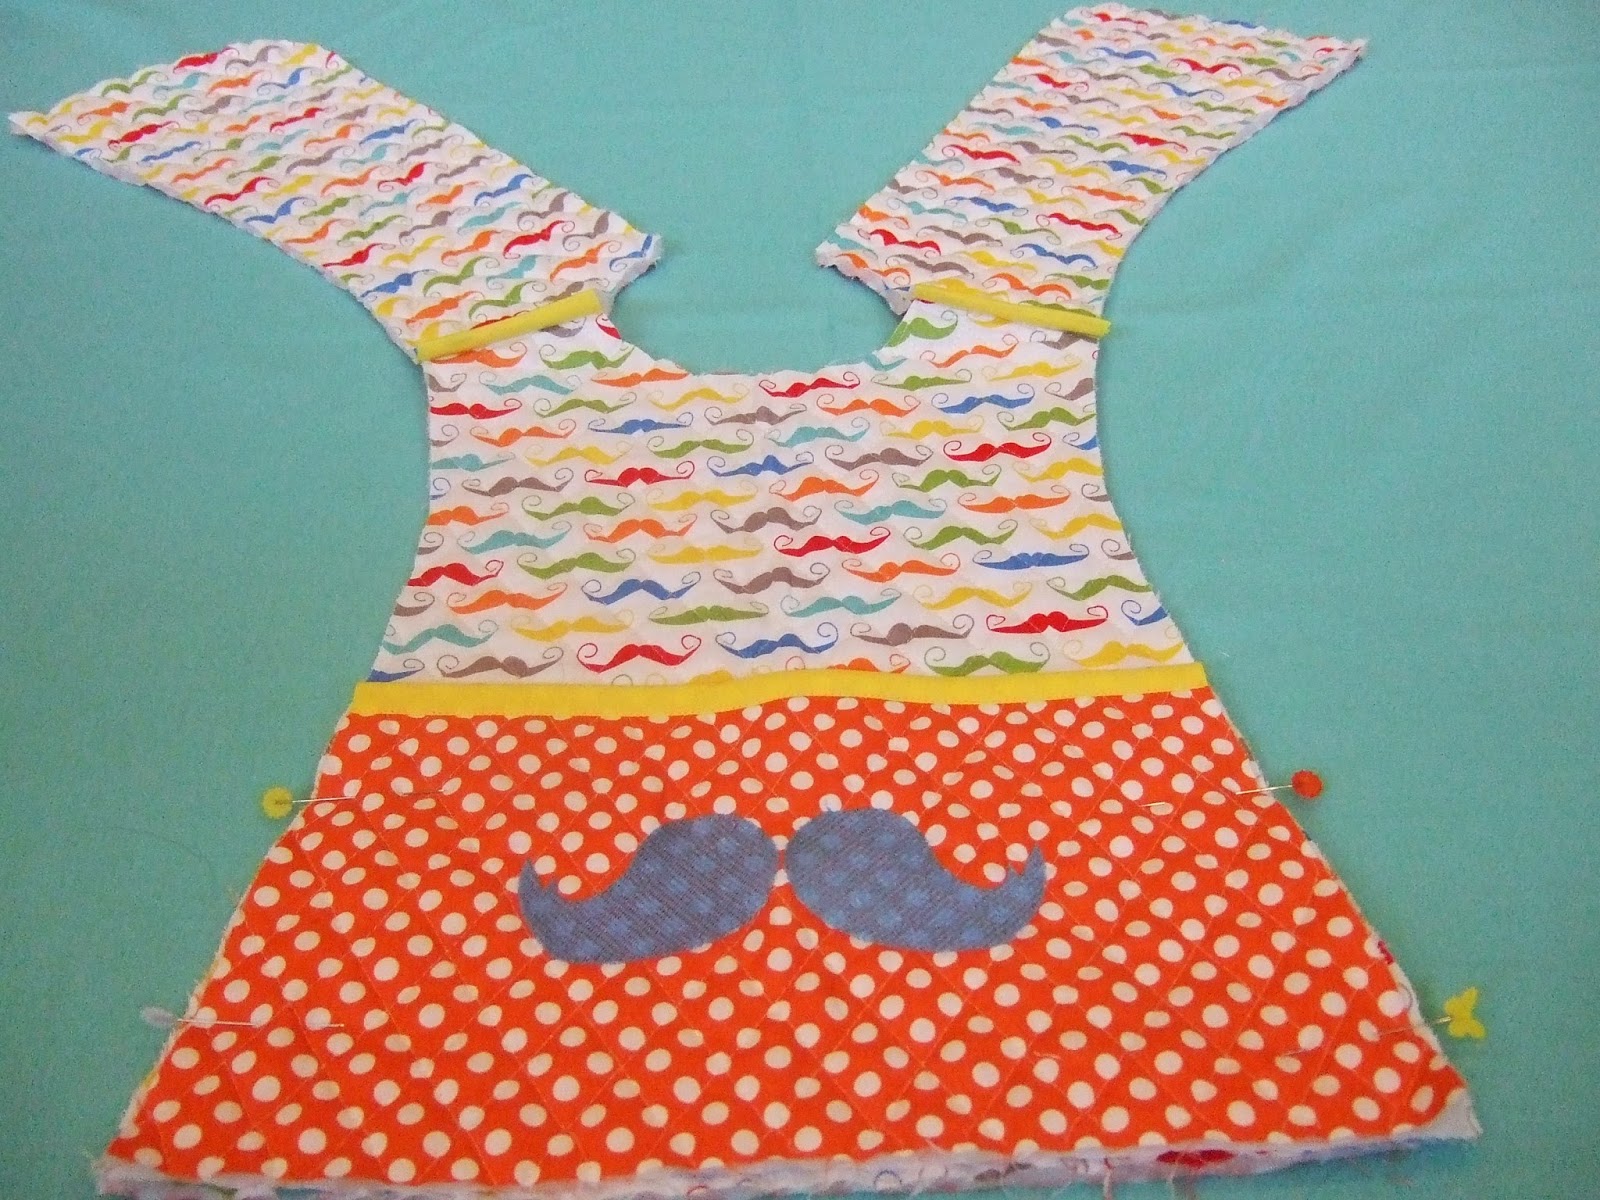
Lay pocket in front. Pin sides together.
Baste the pocket edges on both sides.
(This is a long stitch to hold all layers in place. Put the stitches as close to the edge as you can so that the stitches will be covered with bias tape in a future step.)
Trim excess if it doesn’t match perfectly.

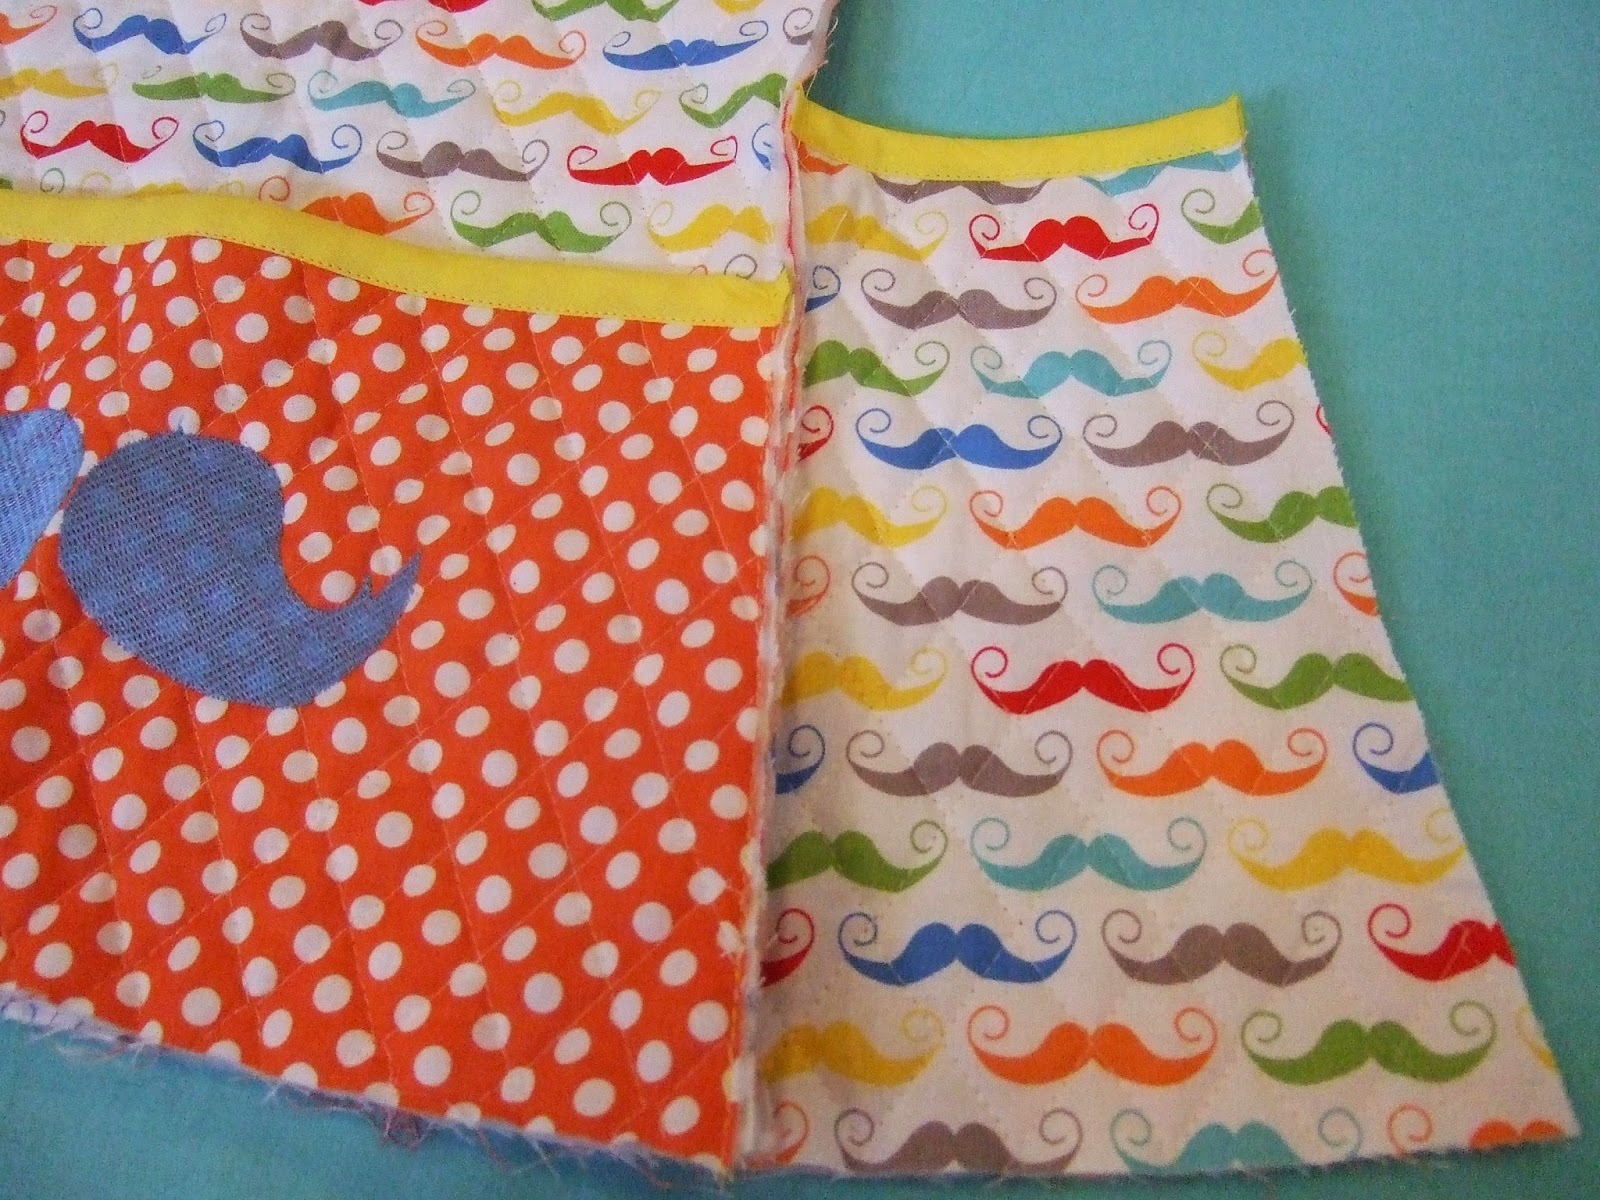
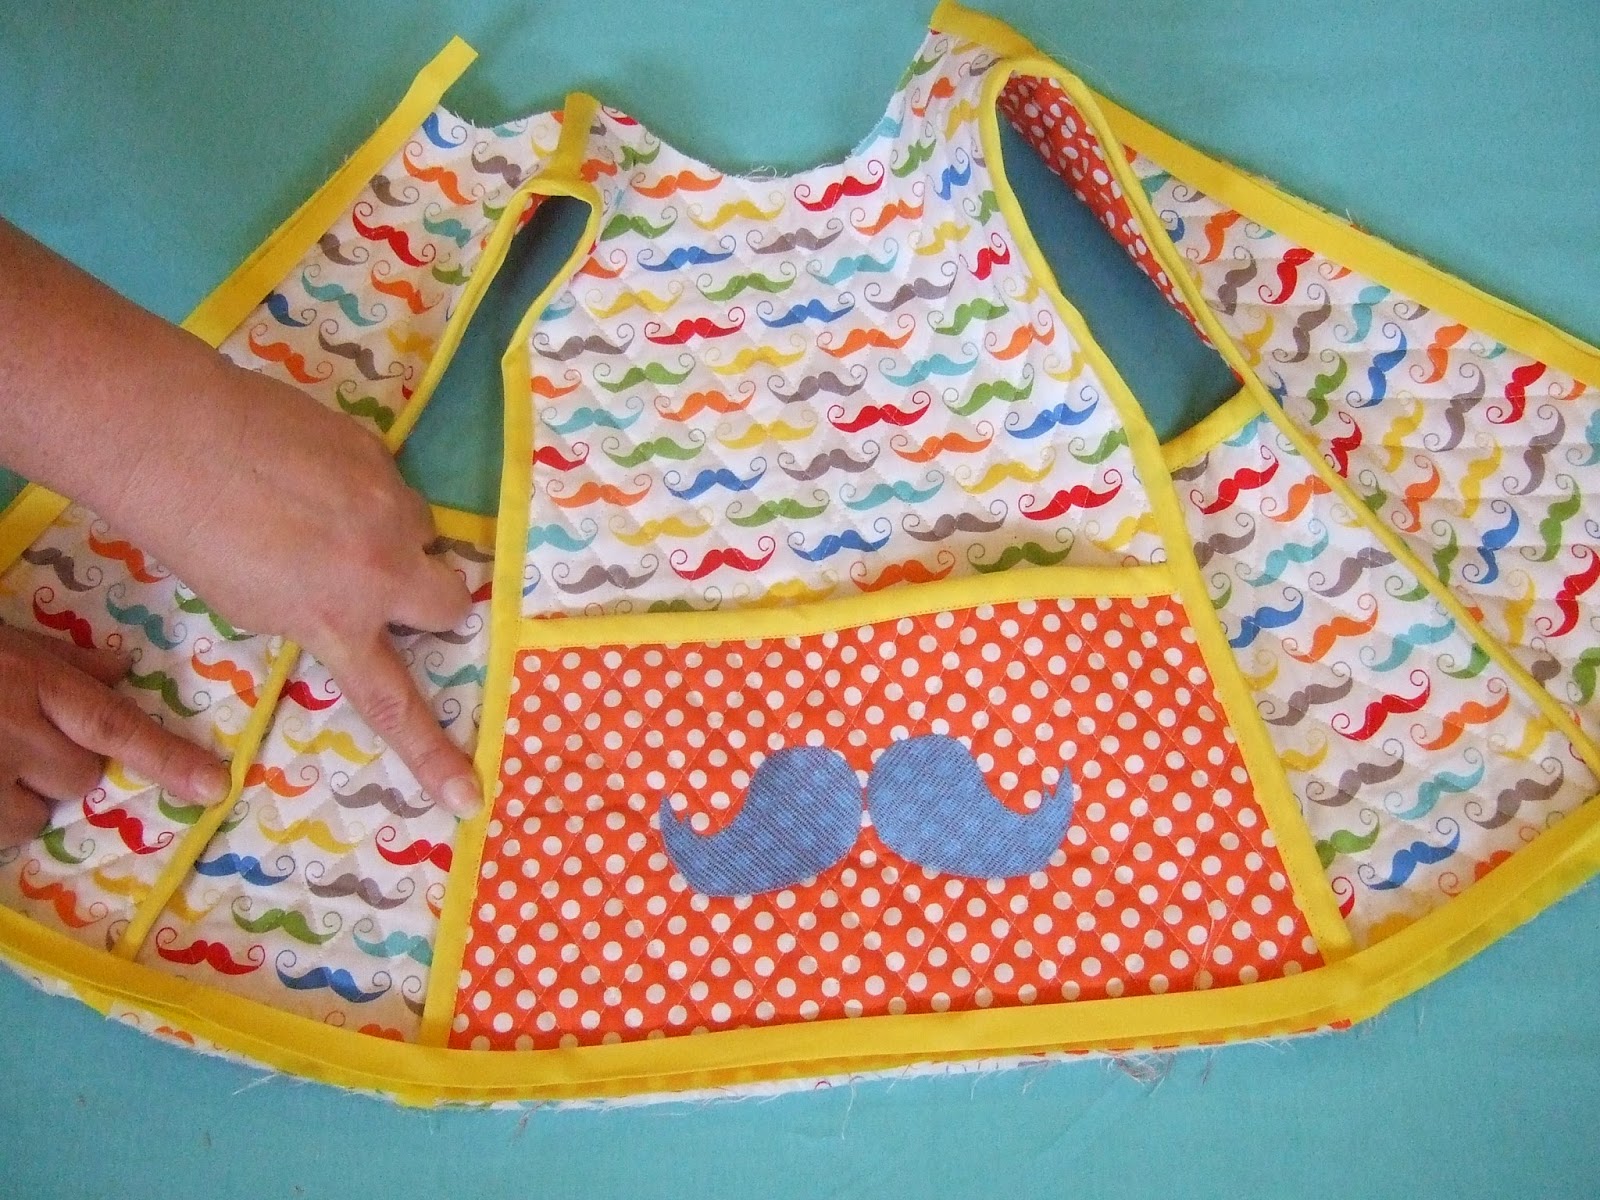
Pin side insert to the front WITH WRONG SIDES TOGETHER.

Baste the side insert pieces into place.
(Stitch close to the edge…this will be covered with bias tape.)

Pin side insert to the back WITH WRONG SIDES TOGETHER.
Baste the side insert pieces to the back of the smock.
(Again close to the edge.)
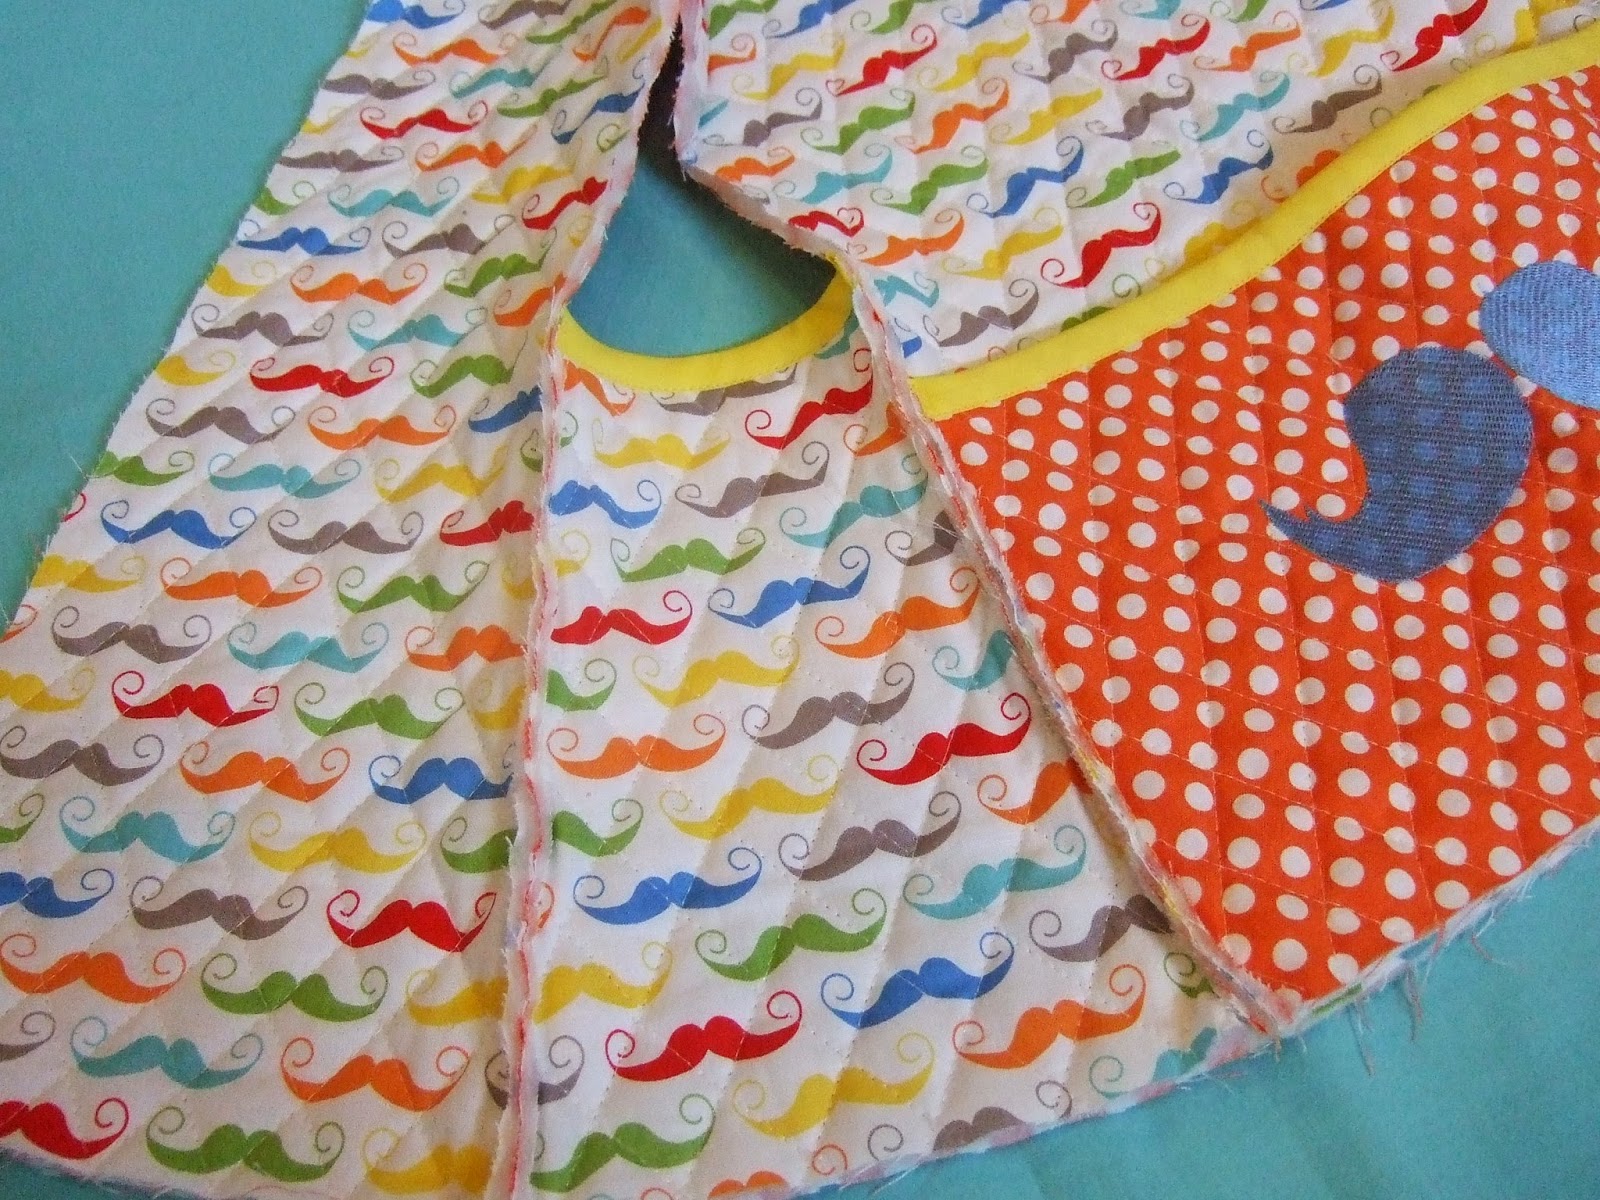
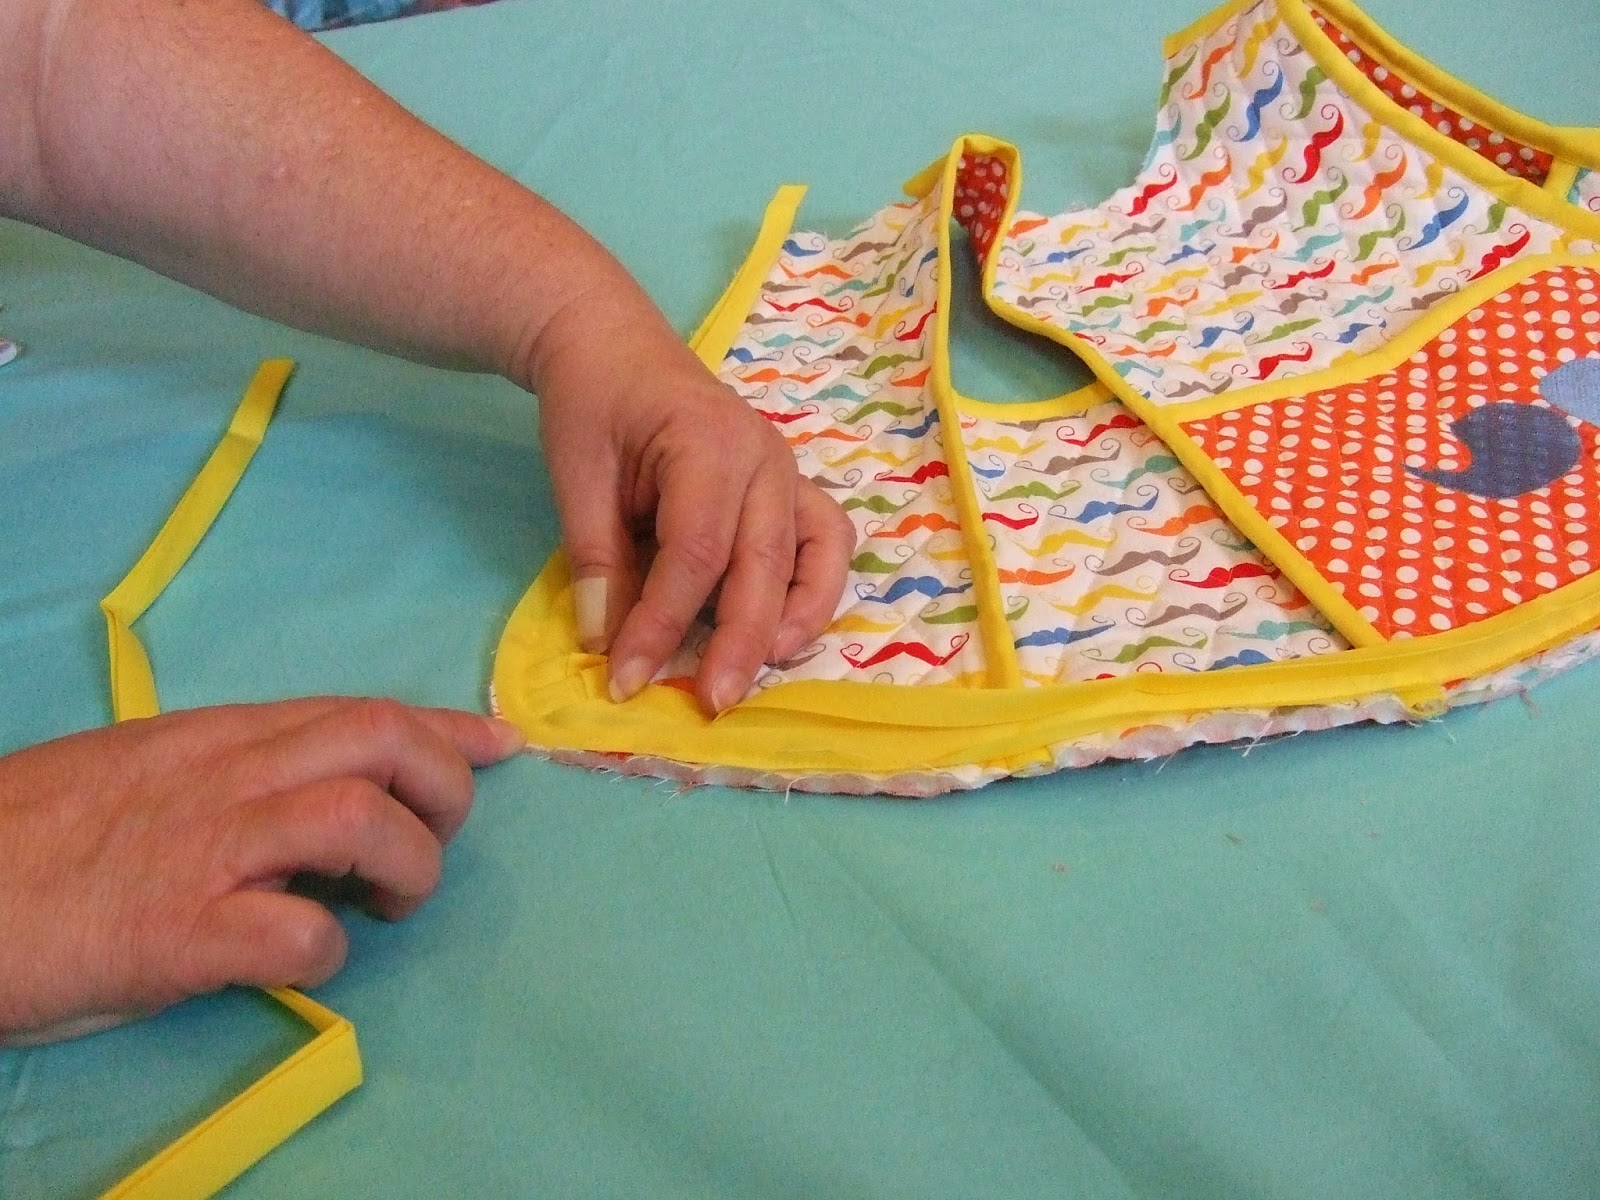
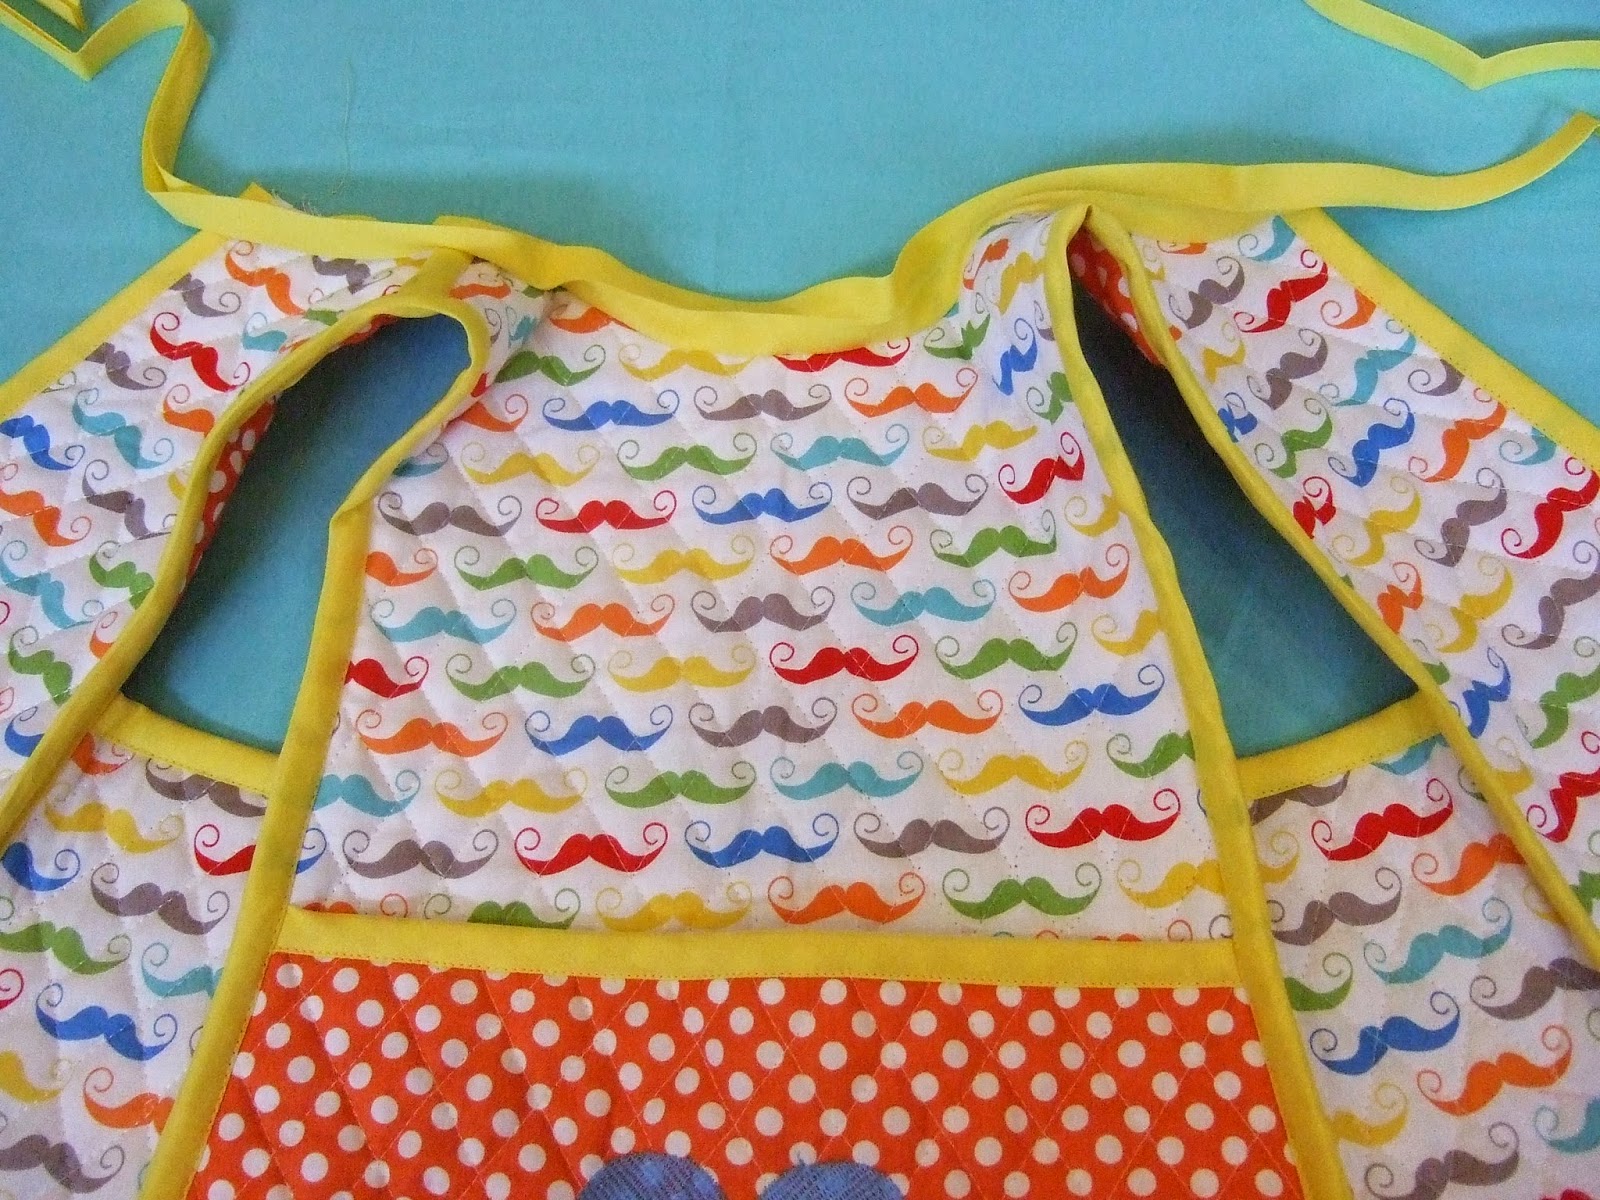
Sew the bias tape, starting at the bottom of the back side and going up to the shoulder then back down, to end in the front.
Note: Press shoulder seam toward back.
Repeat for the other side.
Note…when sewing the bias tape around the curves
…sew slowly…be patient…adjust the bias as you sew
around the shoulder area making sure not to catch the underside of the smock.
Flip bias tape to the other side. Top stitch in place.
Open 2nd package of bias tape
(if you have the 2 packages of the 3 yards per package).
Sew bias tape starting at the top of the neck. Sew down the center back,
across the bottom then up to the other neck opening.
Note…the direction of the 2 seams…they face towards each other .
Note…when going around the curve make sure the bias tape lays flat
on the stitched edge. The bias may look a little “bunched” up but if you don’t
have any puckers in your stitching it will turn perfectly to the inside and be nice
and flat when you top stitch it down.
Flip bias tape to the other side. Top stitch in place.
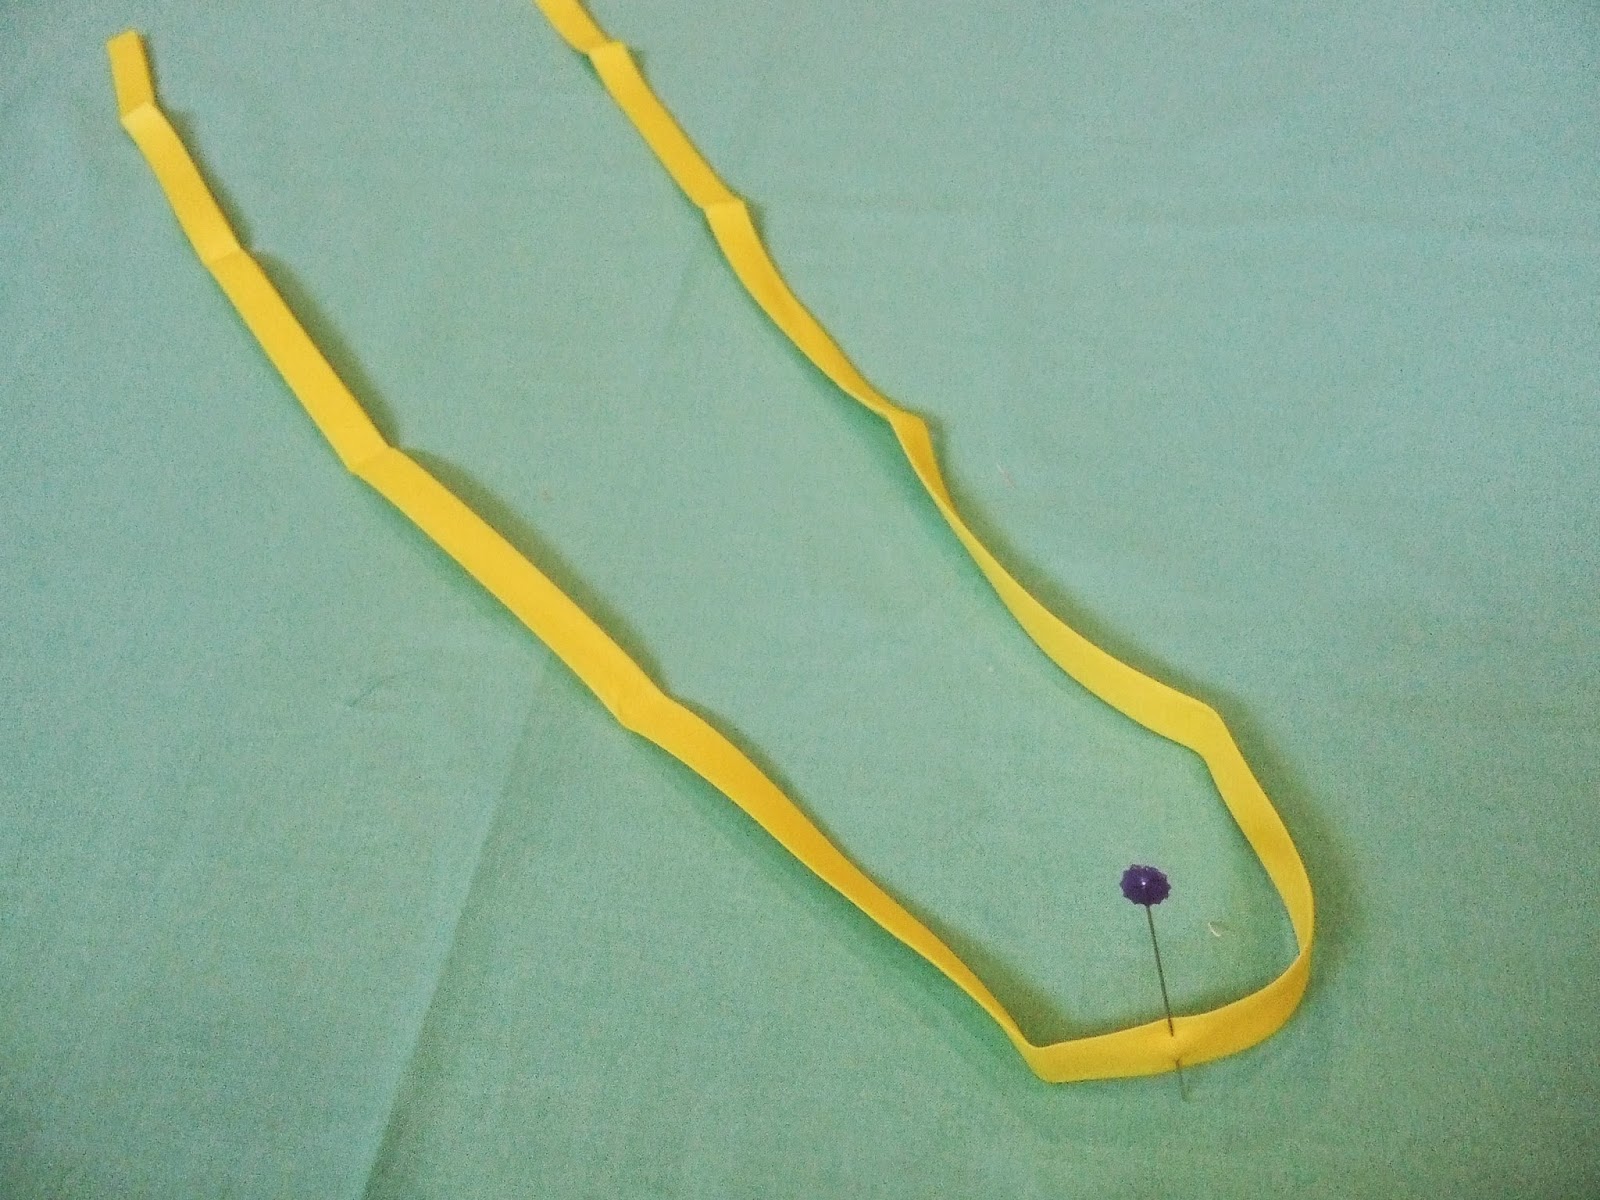
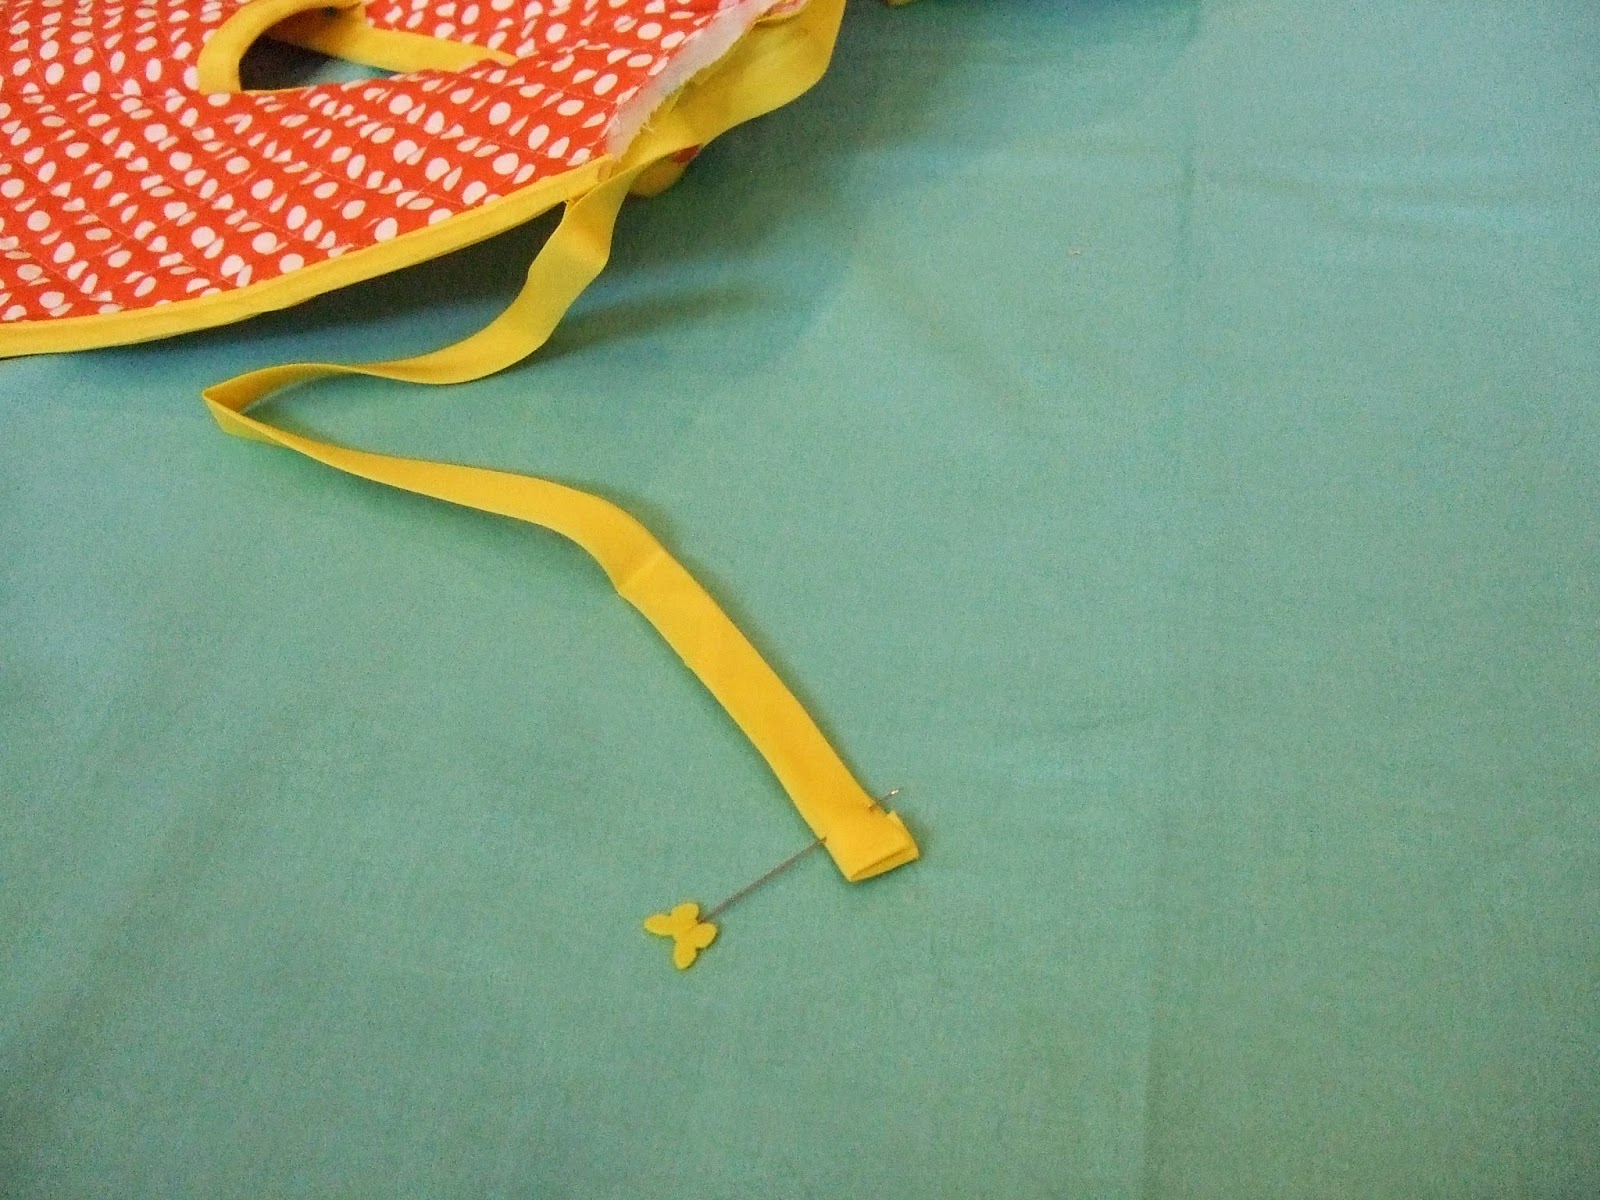
Cut a 45″ bias tape piece…find the center and place a pin.

Place a pin in the center front of the neck.
Match pins on the bias tape and the smock.
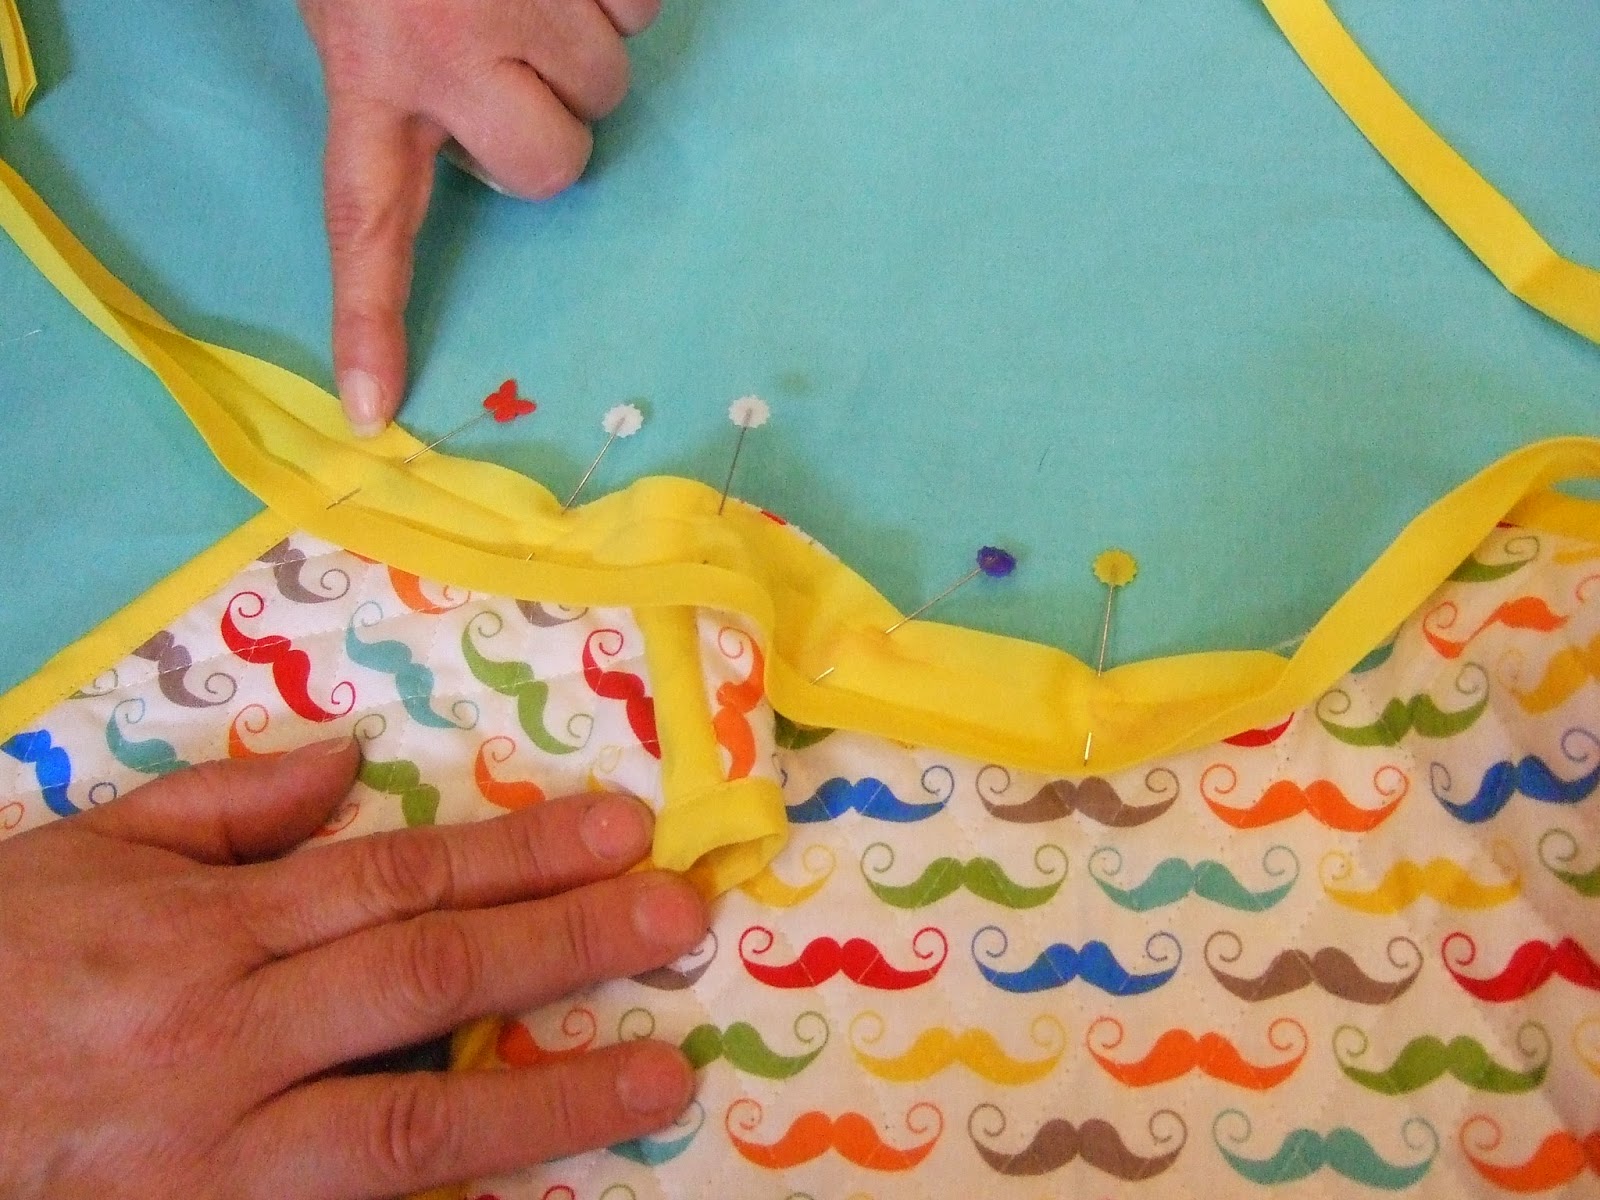
Follow the bias from the center pin to the edge of the neck of the smock.
Pin across neck edge.
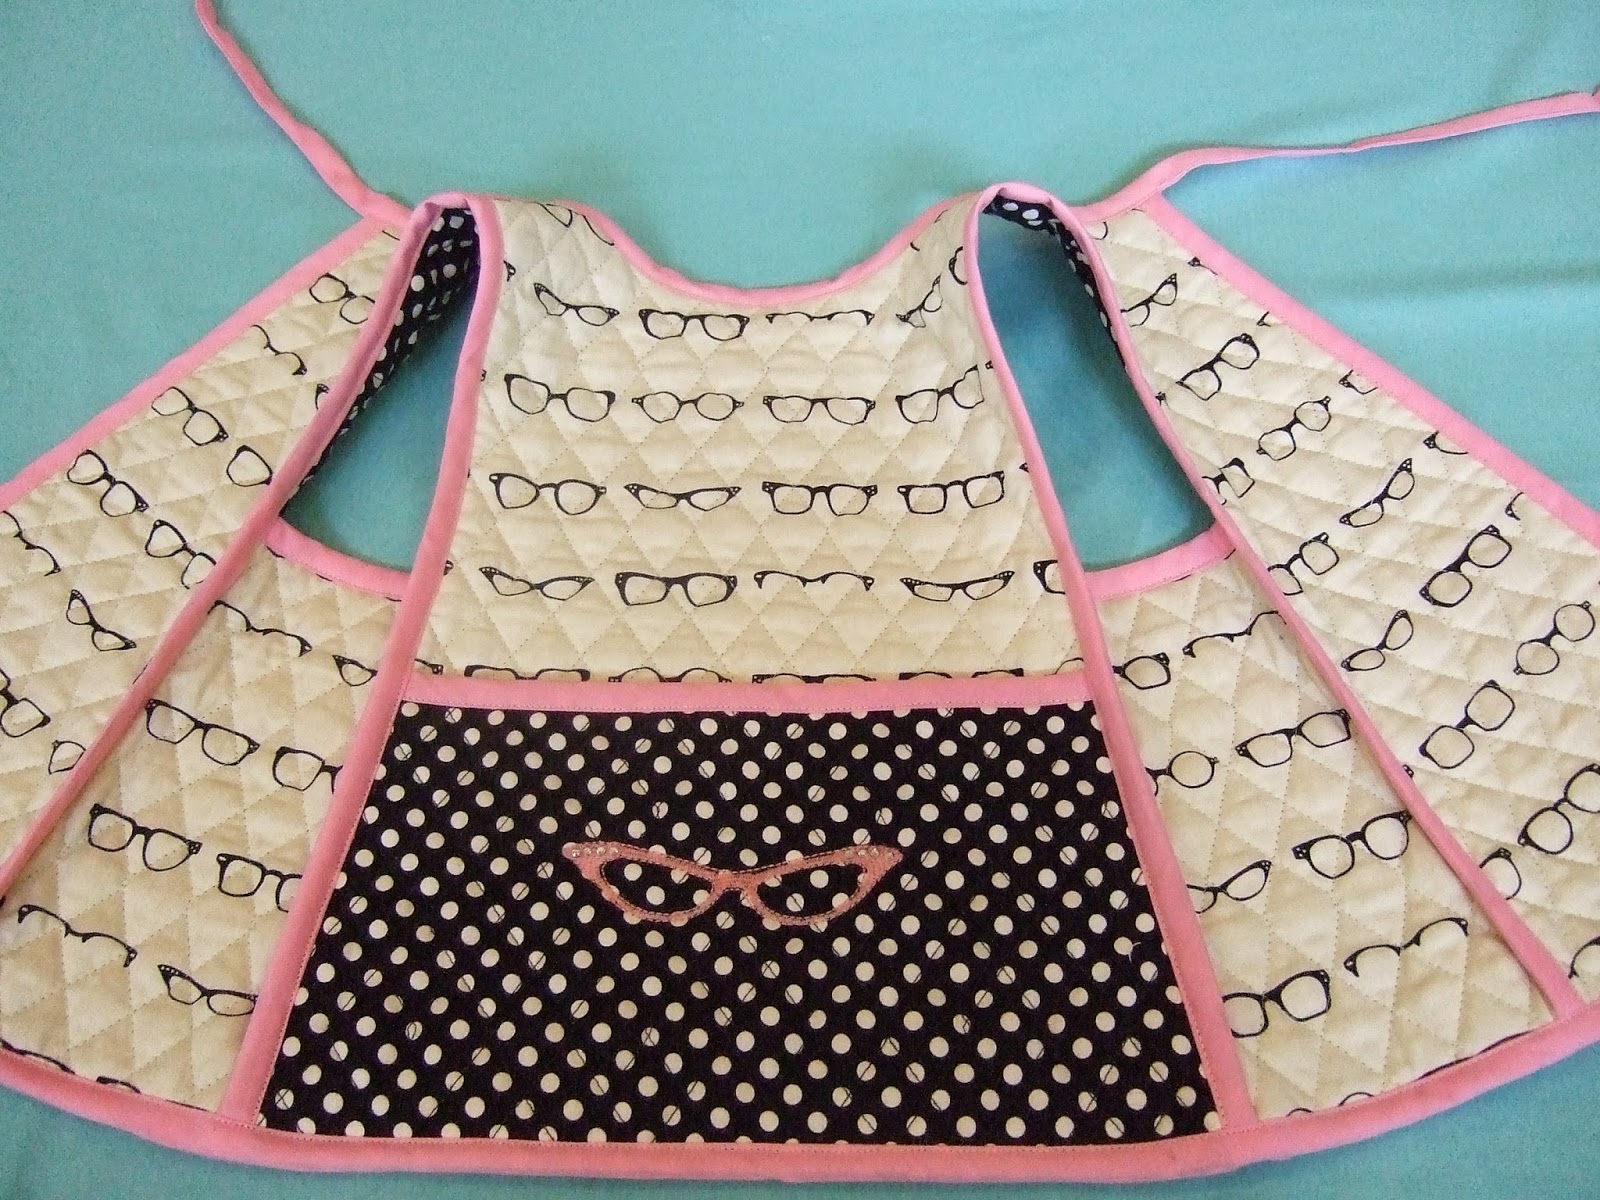
Sew bias on the neck edge of the smock.
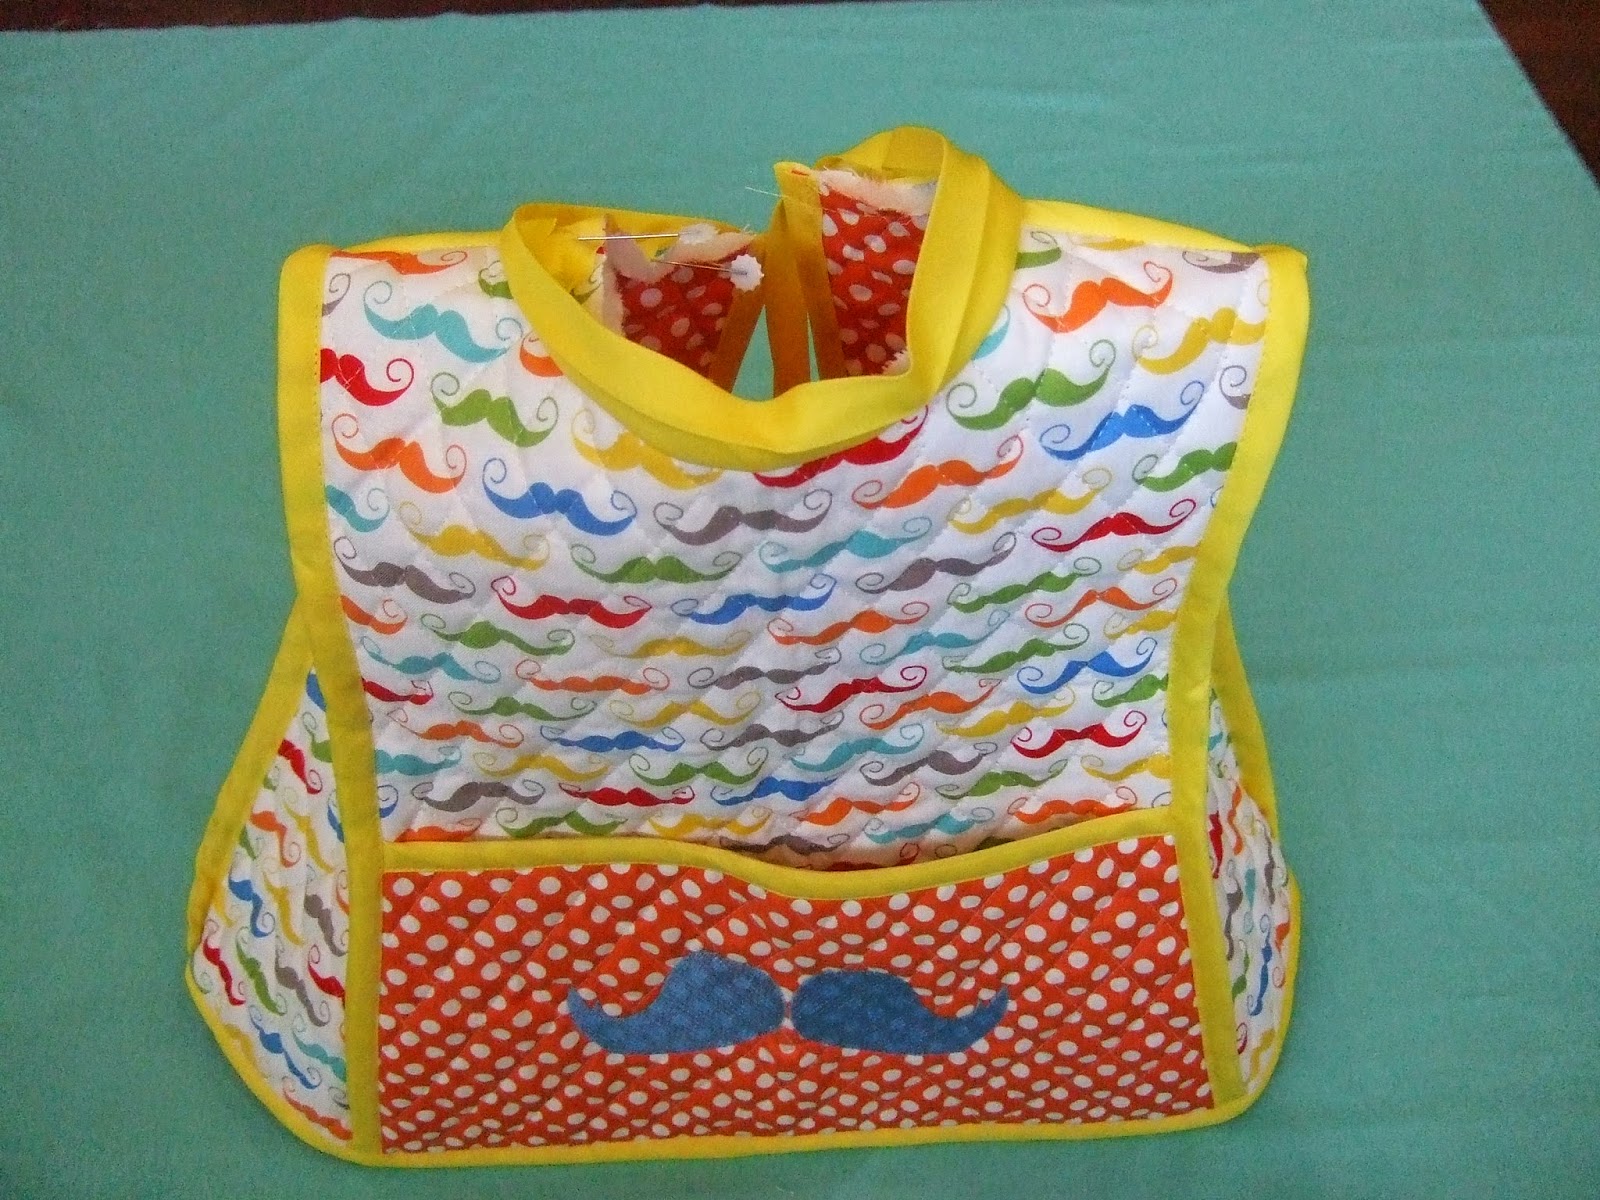
Flip bias tape to the other side.
Fold raw edge of bias tape in 1/2″. Pin.
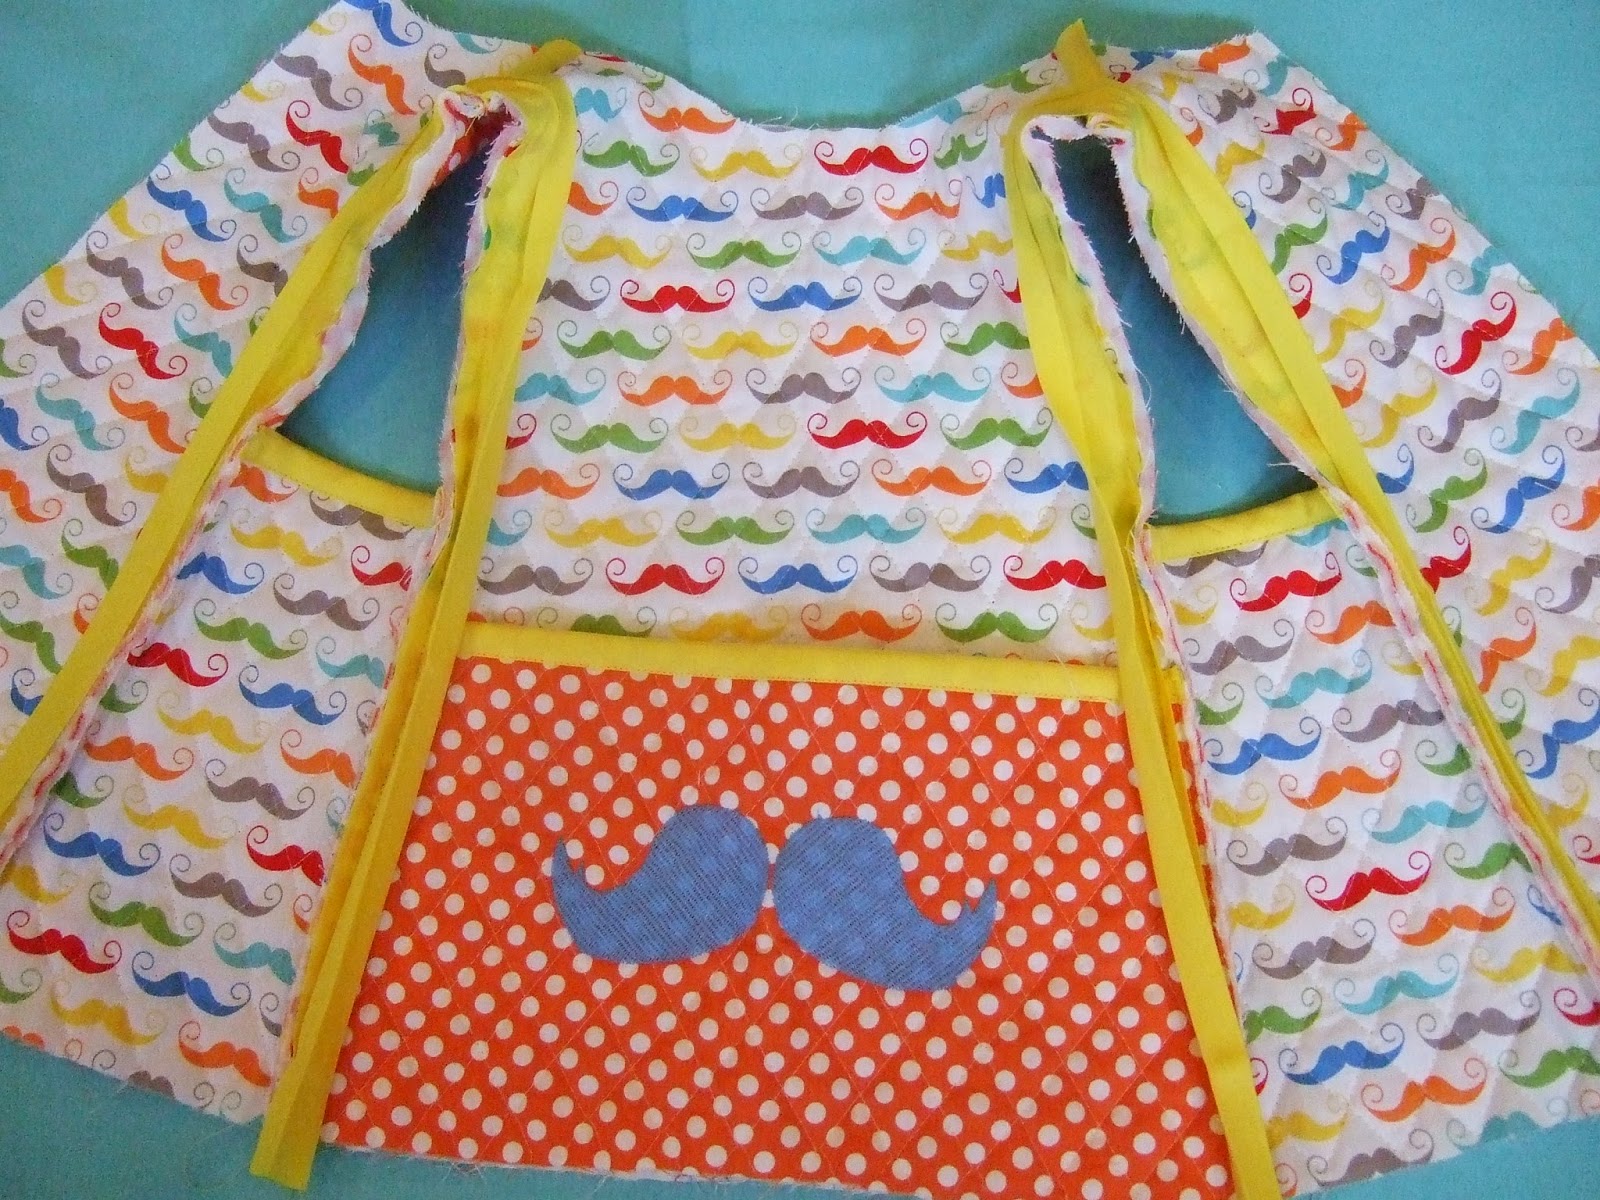
Top stitch across the entire edge of the bias tape
to finish the smock neck and create the neck ties.
Note…shoulder seams lay toward the back.

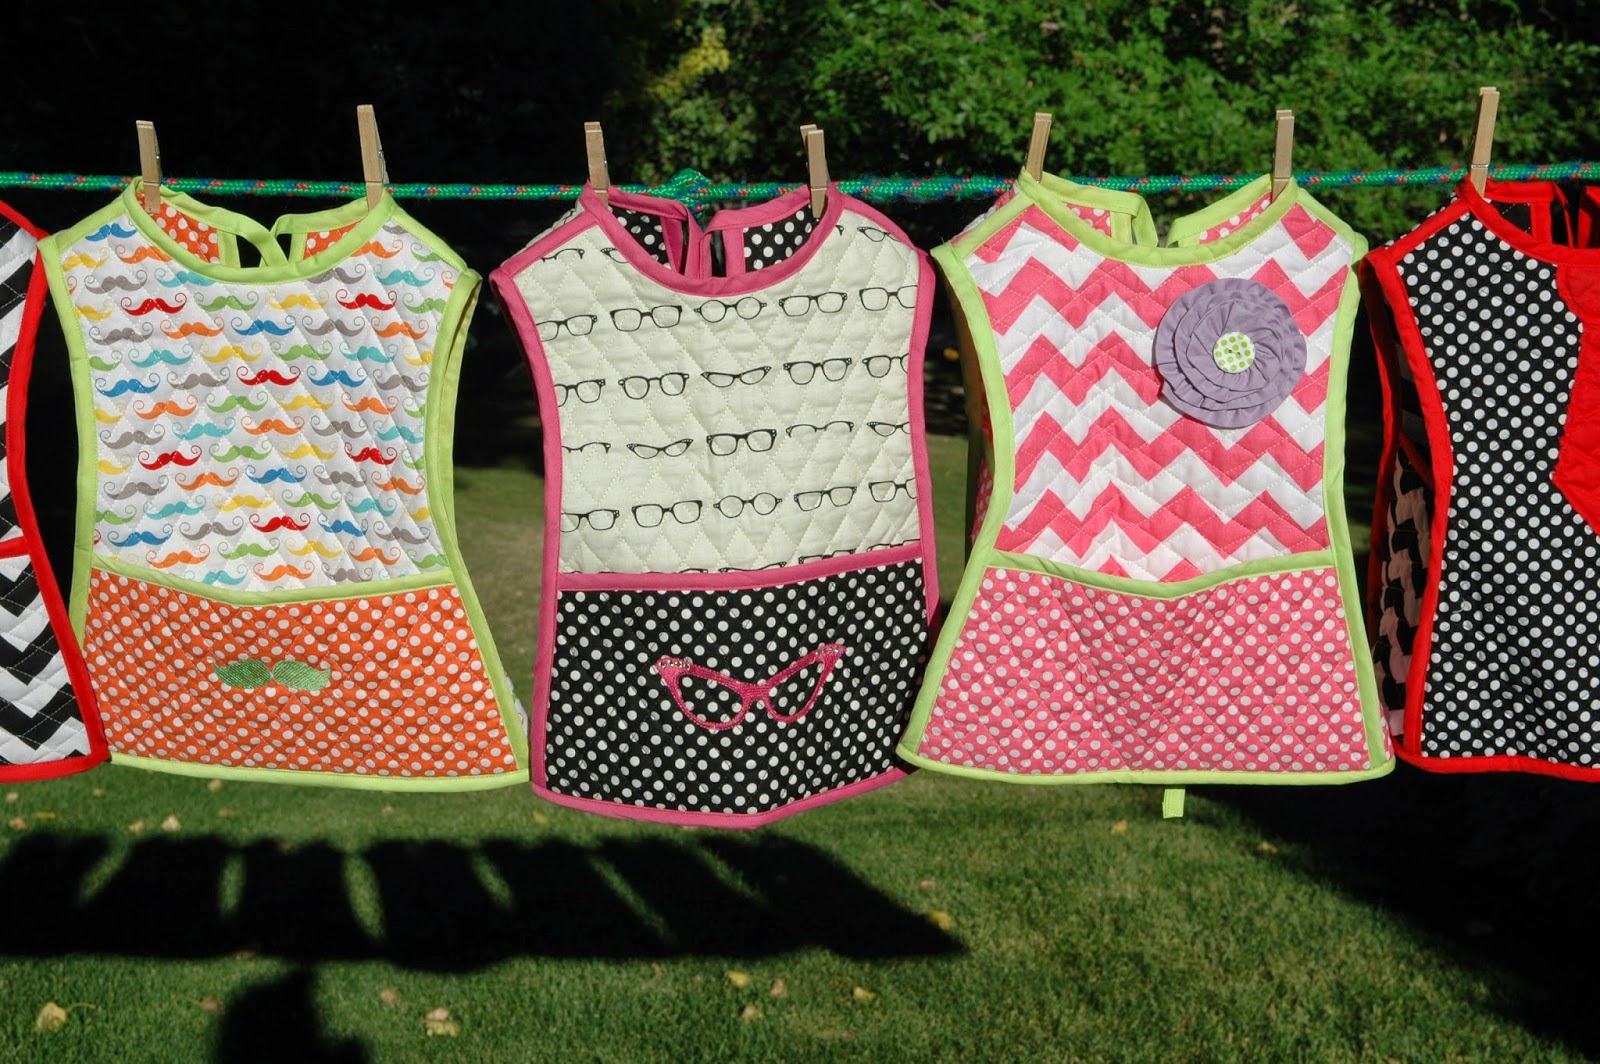
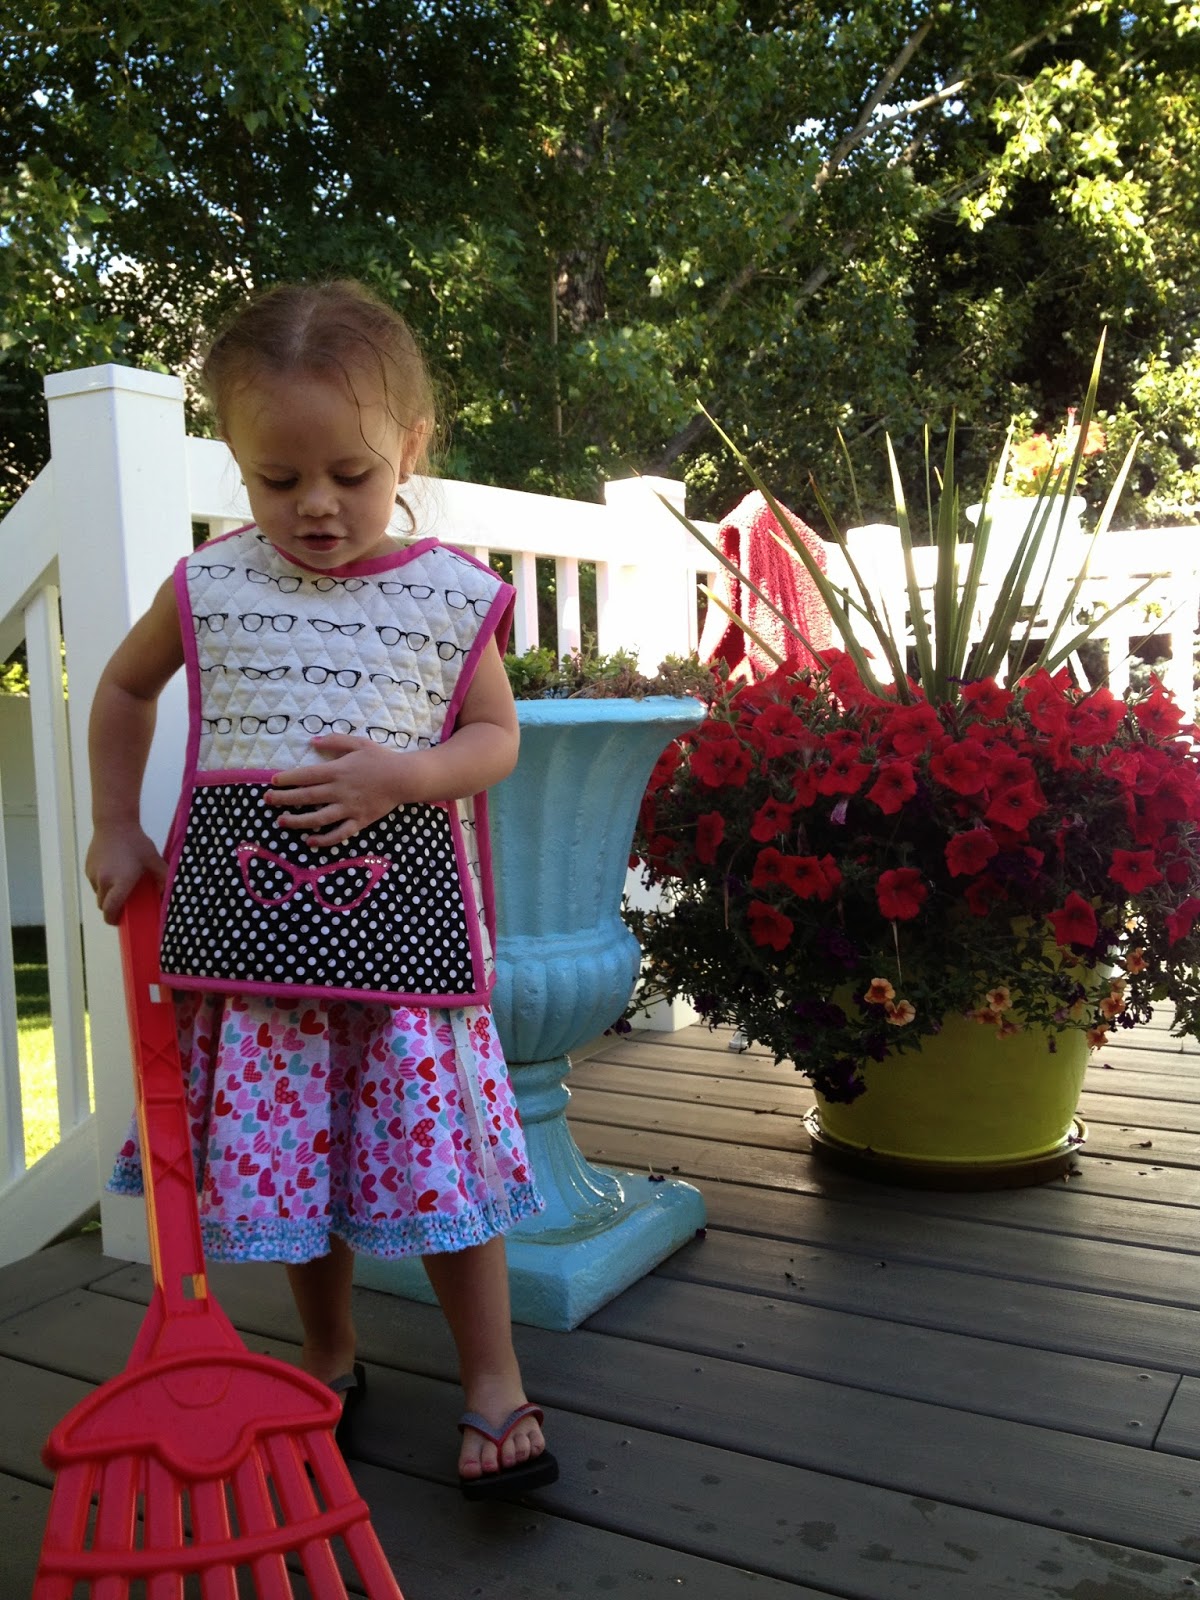
Thank you so much Aniva for this adorable smock
and thank you to everyone for stopping by to enjoy this blog hop.
I know my little grand daughters are going to stay
nice and clean in their little smocks.
I hope you all enjoyed this fun tutorial.
Once you have conquered sewing one of these, you are going to want to sew several…either for your grand babies or for your children…they make great gifts…it’s a nice time to begin sewing for Christmas!!!
Happy Sewing!
Jina
what a great tut…and is that your wee grandaughter…how cute is she….love her apron….were you the last on this hop…..what a great hop and just filled with so many new ideas for quilted cotton, so clever
Aniva made all of these smocks…..I just re read this post….still an absolute delightful read….is she a designer Jina? and of course she is…but is she a RBD designer….does she have a blog?
That is just such an adorable smock that would definitely make a great Christmas gift or anytime gift for a little girl. Thanks for the tutorial!
Jina, This is absolutely adorable! Aniva gave us wonderful Instructions……I just won a New Sewing Machine, this Smock will be on my to make List! I have 2 Granddaughters too who would each Love to have one.
Thank~You Both Sew Much!!
Huggs, Nancy
These are so cute and really practical for anyone with little children. Great tutorial. Thanks Aniva and Jina!!
Amber
Cute hands! Is Aniva a model?
Wonderful smocks! I'd love to see this in an adult size, perfect for around the house! Thank you for the really good tutorial.
Wonderful. Thank you so much. crystalbluern at onlineok dot com
These are so cute! I can see how you could have so much fun personalizing them:)
Oh my goodness these are Adorable!!! The fabrics you used just make them sooo cool! Thanks for sharing how to do…definitely HAVE to make some here!! 🙂
These are adorable! Thank you sew much for the detailed tutorial on how you made these … 🙂 Pat
These are the most adorable bibs ever! It is very unique. The idea is so cool. This a must have! Thank you for sharing.
Great pattern. You may want to add your blog name to the pattern pieces so everyone can find the way to your blog once they print the pieces.
I LOVE these but have zero chance of making them. Does Aniva (or anyone else) sell them anywhere? Thanks 🙂
This comment has been removed by the author.