I wanted to share this pincushion I designed for Riley Blake Designs Pincushion Club

The thought of having a pincushion ready with all the accessories inside gave me the idea for this traveling pincushion. I made the pins by using super glue, pearl head pins and some Swarovski crystals.

I found this 3 ½” round container at hobby lobby for about $1.50. If you have a container, with a lid, I will show you how you can adapt any size in order to use this pattern, as long as the shape is round.

Lid and bottom of container cutting instructions: cut 4 circle templates (2 for the top and 2 for the bottom). You can make this template by tracing the outside of the lid onto a piece of paper. Add ¼” for seam allowance.
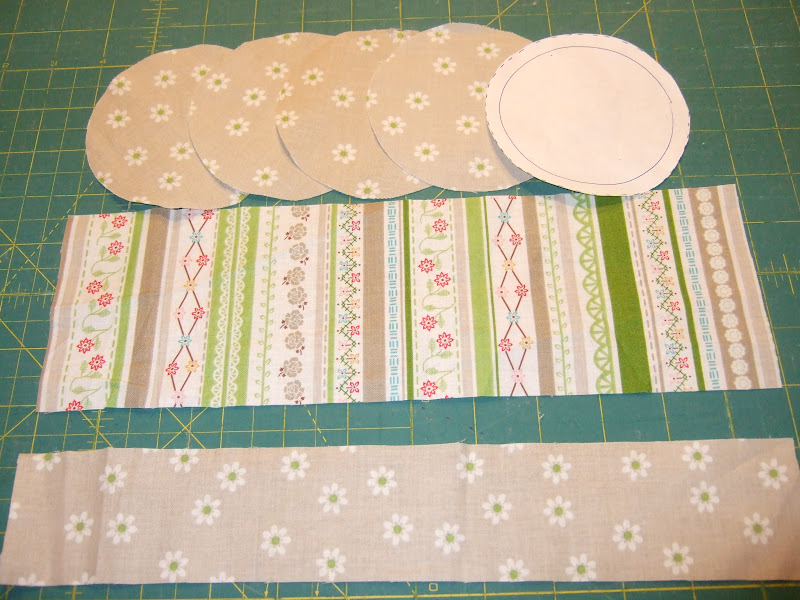
Middle trim cutting instructions: Measure around the middle of the container and add ½” for the width of the template. For the length of the template, measure from the bottom of the container to the top of the container, minus the overlap of the lid of the container and add ½”. Double this measurement to make the template for the bottom trim.

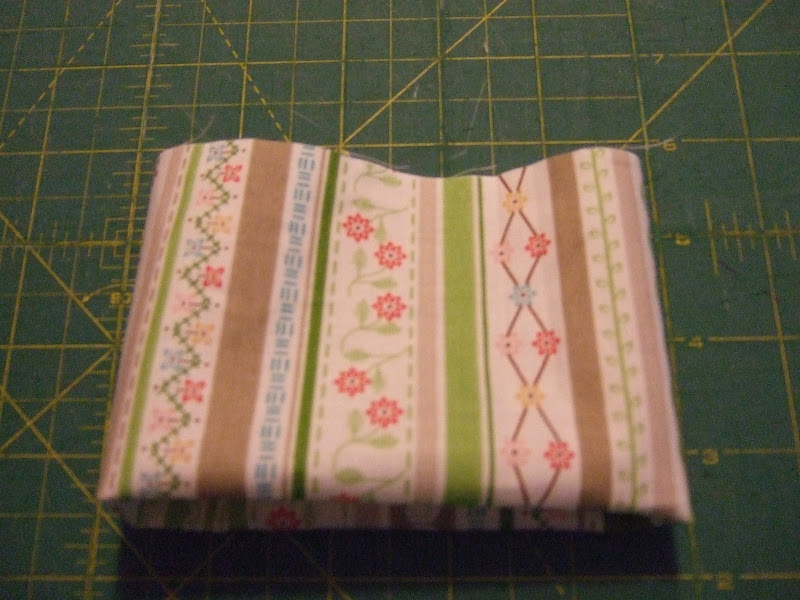
WRST (with right sides together) sew the short side of the top trim and the middle trim. This creates a circle. Fold the top trim in half. Press.

Place wrong sides of 2 circles together so that the right sides are facing out. WRST sew the top trim to the circle, catching all seams. Note: fold the 2 circles in half and place a pin. Fold in half again and place another pin. You should have a pin at each quarter of the circle. Do the same for the top trim. Match pins. Continue to pin around the circle. Ease the seams in while sewing them together.
Fold wrong sides of middle trim in half. Press.
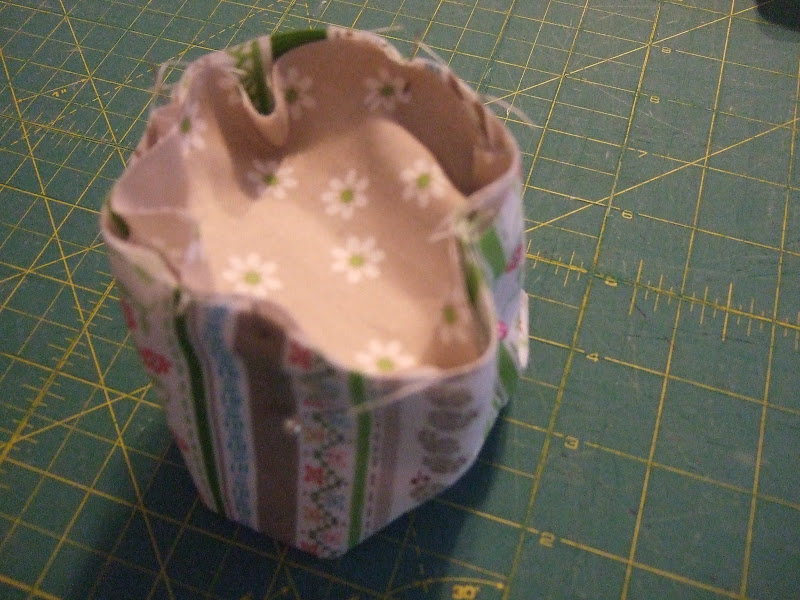
Repeat the same step above when sewing the top trim to the top circle, only this time you are sewing the middle trim to the bottom circle.
Making the flowers: I used Polka Dot Stitches designed by Lori Holt for Riley Blake Designs. She has a designer cloth which has all these cute circles about 2 ½” around. They are the perfect size for the flower centers that become the pincushion on this project.

Cut a circle out or use the flower center template. Turn the edge under 1/8” while sewing a running stitch.

You will need a small piece of batting. Roll the batting and stuff the circle while pulling the stitches together tightly.
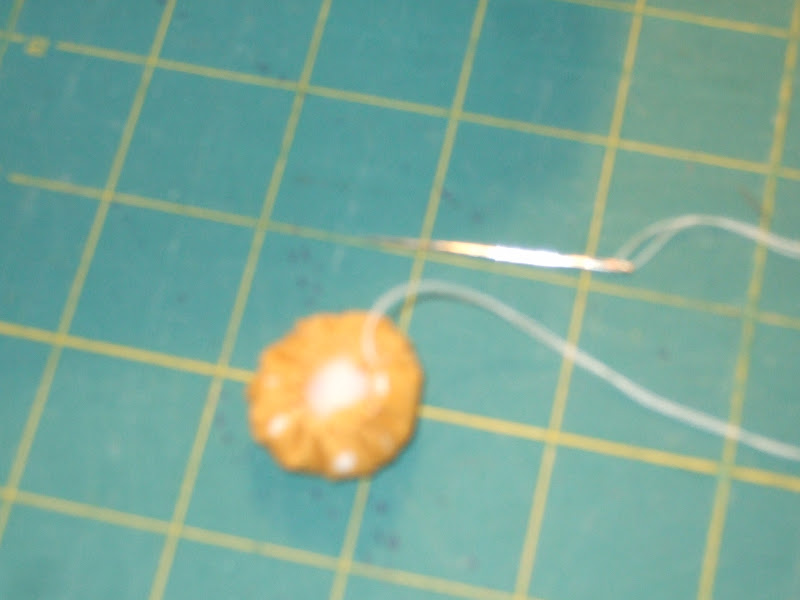
This will create a small ball for the flower center.


Each flower has 6 petals. Cut out 36 petals. (The quickest way to do these petals is to layer the fabric and using the petal template cut around the outside edge.) It takes 12 petals per flower. WRST sew 2 petals with a scant 1/8” seam around the petal edge. Leave the bottom of the petal open. Turn right side out. Top stitch 1/8” around outside edge. To save time, do this in a chain, sewing one petal after another.


Make 3 of these flowers.


Place some cute pins into the flower centers and fill your container with whatever items you need for traveling.
You can download the templates along with a printable version of this tutorial by visiting my website at www.jinabarneydesignz.com
Jina